Peace lilies
By Tammy Huynh
Images and text from The Plant Book by Tammy Huynh, photography by Chris Chen. Murdoch Books RRP $49.99.
Peace lily p. 234, Spathiphyllum wallisii

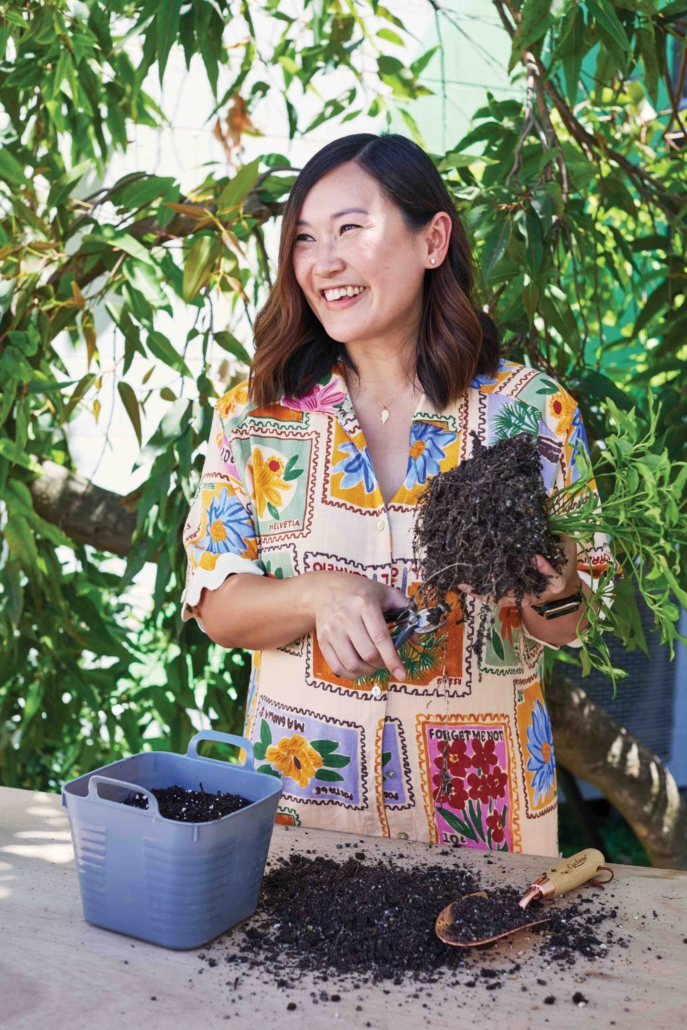
ABOVE: Cover image of The Plant Book, and author Tammy Huynh
Care
Low maintenance
Pet friendly
No
Light
Bright, indirect light
We hope you enjoy this free article from OrganicNZ. Join us to access more, exclusive member-only content
Part of the Araceae family, the peace lily is a favourite among indoor plant enthusiasts. It’s celebrated for its easy-care nature, attractive glossy leaves, and distinctive white flowers. Because it’s so adaptable, it’s a popular choice for shopping centres, offices and homes, and it makes an ideal gift for beginner plant parents.
The flower of the peace lily is actually a spathe – a unique structure that consists of a modified leaf surrounding a cluster of tiny flowers called the spadix. While the spathe is typically white in the peace lily, it comes in various colours among other members of the Araceae family. You’ll find the traditional green-leaved peace lily in most nurseries and garden centres, but the variegated forms can be harder to find. They’re worth the hunt, however, especially if you want something a little more special.
The peace lily grows into a large clump, giving the plant a full, bushy appearance. It may get too big for its pot; if this happens, then repot it into a larger container or trough. Alternatively, divide the clump every few years and pot up the divisions. Although it’s rare to hear of someone killing a peace lily, many people still encounter issues with it.
Understanding its natural habitat can help to address these problems. The peace lily is native to humid forest floors in tropical Central and South America, where it thrives in dappled light and consistent humidity. While you don’t need to give it a greenhouse environment, there are ways to ensure that it looks its best.
All the dirt on the peace lily
Light
The peace lily thrives in bright, indirect light. It can tolerate lower light levels, but it will grow more slowly and won’t flower.
Potting mix
Use a premium potting mix. Fertiliser Liquid feed regularly during the warmer months, or apply a controlled-release fertiliser at the beginning of spring, reapplying as directed.
Water
Water when the top 2.5–5 centimetres (1–2 inches) of potting mix is dry. Ensure that the water runs through the drainage holes at the bottom of the pot. The leaves will droop quite dramatically if the potting mix becomes too dry – avoid reaching this point because it puts the plant under unnecessary stress.
Humidity
The peace lily is generally happy with the standard level of humidity found in most homes. However, if it’s positioned near windows, in draughty areas or close to climate-control devices (such as fans and heaters), the humidity will be lower than it prefers. Browning at the leaf tips typically indicates low humidity. For ways to boost indoor humidity, see page 26.
Choice cultivars of the peace lily
Spathiphyllum ‘Sensation’
Often referred to as the giant peace lily, this beauty is known for its large leaves and impressive spathes. It’s a true statement plant that makes an ideal floor specimen … but elevate it on a short plant stand for even more impact.
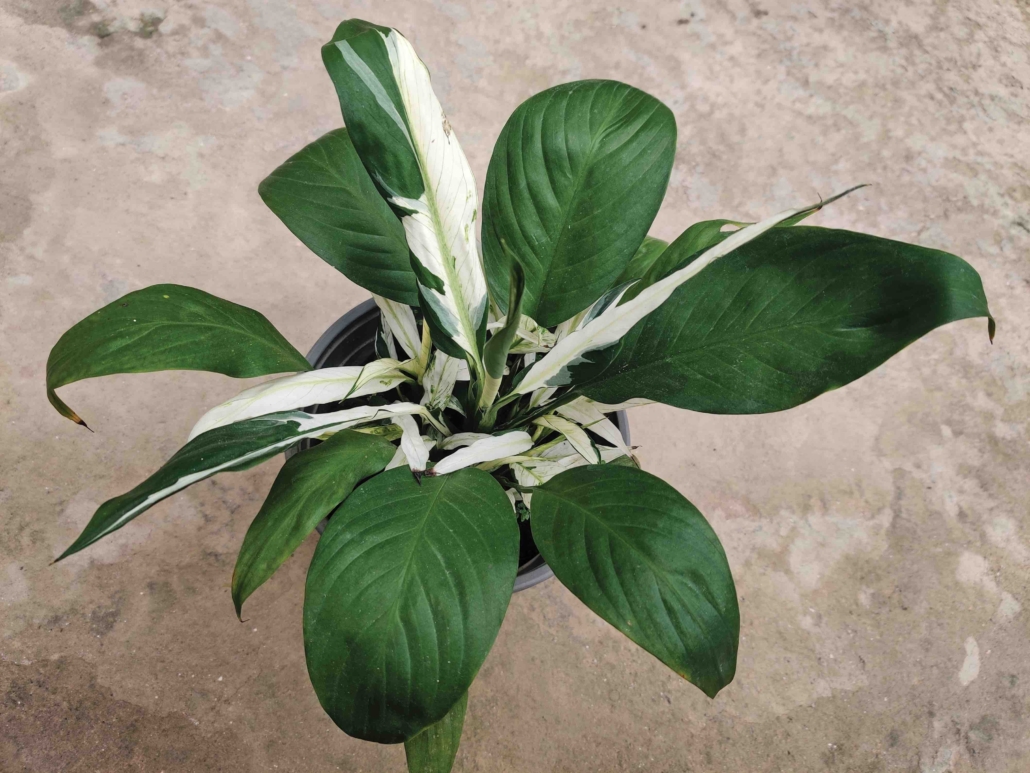
Variegated peace lilies
Spathiphyllum ‘Picasso’ (pictured) features broad, white brushstrokes painted across its leaves, while Spathiphyllum ‘Domino’ displays a more subtle stippled effect, as if it has been touched by a delicate hand.
Growing tips
Obtain more peace lilies
The best way to get more peace lilies is to divide your plant! As the plant grows, it naturally forms clumps of new shoots; these clumps can be separated to create new plants. Dividing is best done in spring or summer when the plant is actively growing, giving it the best chance to establish quickly.
To divide your plant, remove it from the pot. Tickle or brush away the potting mix to loosen the roots. Smaller plants or clumps may naturally separate from the mother plant. If they don’t, then identify the clumps and ensure that each one has healthy stems, leaves and roots. Use your hands to gently pry the clumps apart. A sharp knife or pair of secateurs may help.
Replant each clump into its own pot filled with a well-drained potting mix, ensuring that the base of the plant is at the same depth as before. Water in well with a diluted seaweed solution, which helps to promote root growth and reduce transplant shock. Place the pots in a warm spot with bright, indirect light.
Common problems of the peace lily
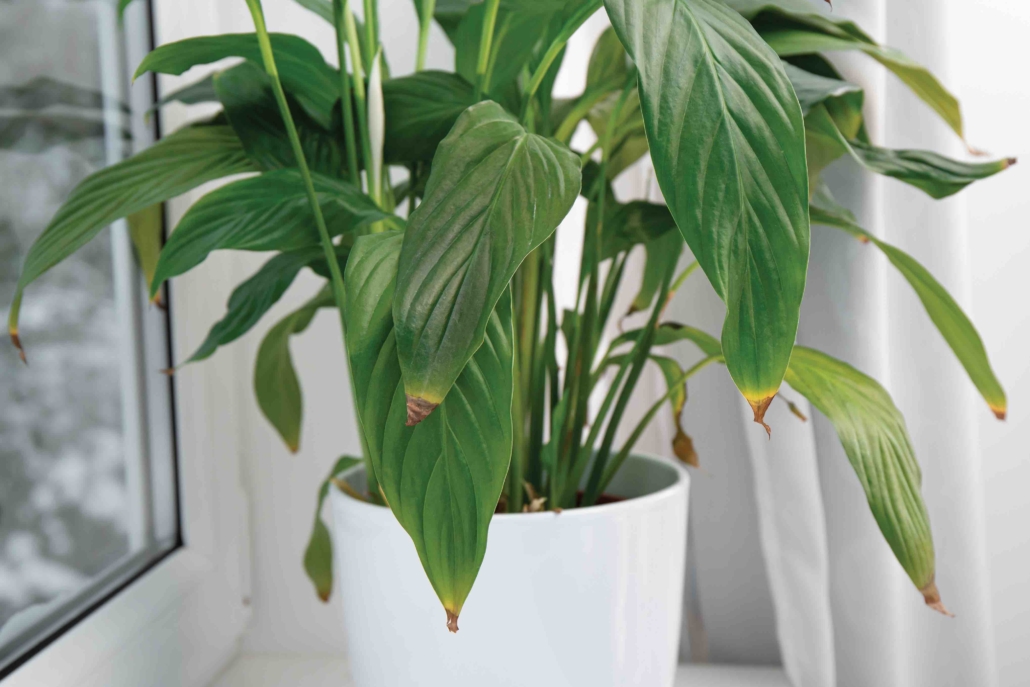
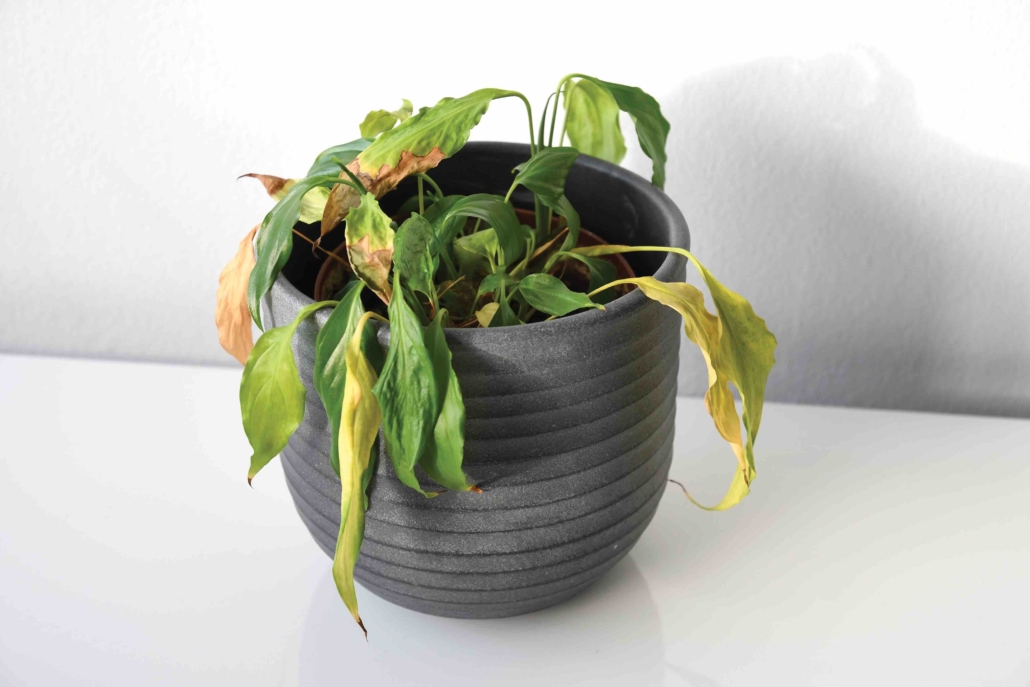
Browning of leaves
Brown leaf tips.
Cause
This typically indicates low humidity. It may be the result of draughts or exposure to hot or cool air, which can dry out the air around the plant and lead to water loss from the leaves faster than it can be replenished.
Solution
Position the plant away from open windows or doors to avoid exposure to draughts. Also, keep it away from heating or cooling vents. To maintain consistent moisture, consider placing a shallow tray of water near the plant to increase humidity.
Drooping leaves
Symptom
Leaves have wilted significantly, appearing limp and droopy.
Cause
Underwatering, overwatering or hydrophobic potting mix.
Solution
If the plant is underwatered, then the potting mix will feel completely dry. Give the plant a good soak, ensuring that the water runs through the drainage holes at the bottom of the pot. The plant should recover over the next couple of days (if it doesn’t, then this may be an indication that the potting mix has become hydrophobic – see below for the solution). Continue with a more regular watering routine to prevent future issues.
If the plant is overwatered, then the potting mix will feel evenly wet or soggy. Allow the potting mix to nearly dry before watering again, and check if you need to move the plant to a brighter spot or if the pot has sufficient drainage holes. If roots are obstructing the drainage holes, then the plant needs to be repotted into a larger container. If your pot has a saucer, then avoid letting the plant sit in water for any length of time because this can lead to root rot.
If the plant is severely overwatered, then it may be best to remove the plant from its pot, prune away any dead, dying or mushy roots, and repot into fresh potting mix. Over time, potting mixes can become hydrophobic (water repellent), so despite your watering efforts, the water isn’t being absorbed into the potting mix.
You can rehydrate the potting mix by submerging the entire pot in a bucket of water for 30 minutes, using a brick or similar heavy item to keep it under the surface. Alternatively, use a wetting agent, which is available at most nurseries, to help rewet the mix. The plant should recover over the next few days.
The Plant Book, by Tammy Huynh