Aubergines
The aubergine is one of those vegetables that people often overlook, until they learn how to cook it well. Then everything changes, writes Paula Sharp.
We hope you enjoy this free article from Organic NZ. Join us to access more, exclusive member-only content
When handled right, the aubergine turns soft, silky, and deeply satisfying, carrying flavour in a way few other vegetables can. It’s not loud or showy; it’s grounding, nourishing, and incredibly versatile – exactly the kind of food that supports steady, sustainable health.
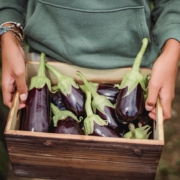
While the aubergine (also known as eggplant) wasn’t a traditional staple in many New Zealand kitchens a generation ago, it’s now finding its place. You’ll spot it at local markets, tucked into home gardens, and increasingly on menus that celebrate seasonal, plant-forward eating.
Why the name ‘eggplant’?
The aubergine traces its origins back over 2000 years to India and Southeast Asia, where it grew wild before being cultivated. It gradually travelled west along trade routes into the Middle East, Africa, and Europe.
Early varieties were small, pale, and egg-shaped, hence the name eggplant.
By the Middle Ages, it had gained a slightly dubious reputation in Europe for bitterness and poor preparation. Fortunately, modern cultivation has softened those edges, giving us the milder, more reliable varieties we enjoy today.

Photo: Japanese white eggplant, Wikimedia Commons
Growing aubergines
Aubergines are warmth-loving plants, which makes them well suited to New Zealand’s warmer regions like Northland, Auckland, and the Bay of Plenty. With shelter and care, they can still be grown further south.
They thrive with:
- Full sun (6–8 hours daily)
- Rich, well-drained soil with plenty of organic matter
- Consistent warmth and protection from wind.
Plant in spring after the last frost, and in cooler areas, use cloches or grow under cover to get them established. In places like Tauranga, you can expect a generous harvest through late summer into early autumn.
Keep watering consistently (but not excessively), mulch well, and feed with an organic fertiliser to support strong, steady growth.
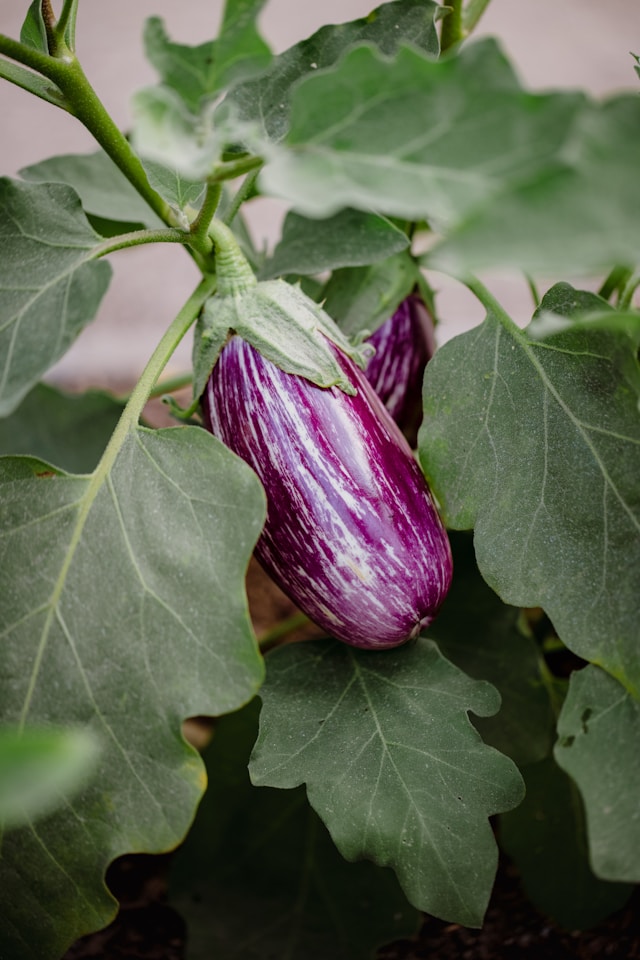
Photo: Jason Leung, Unsplash
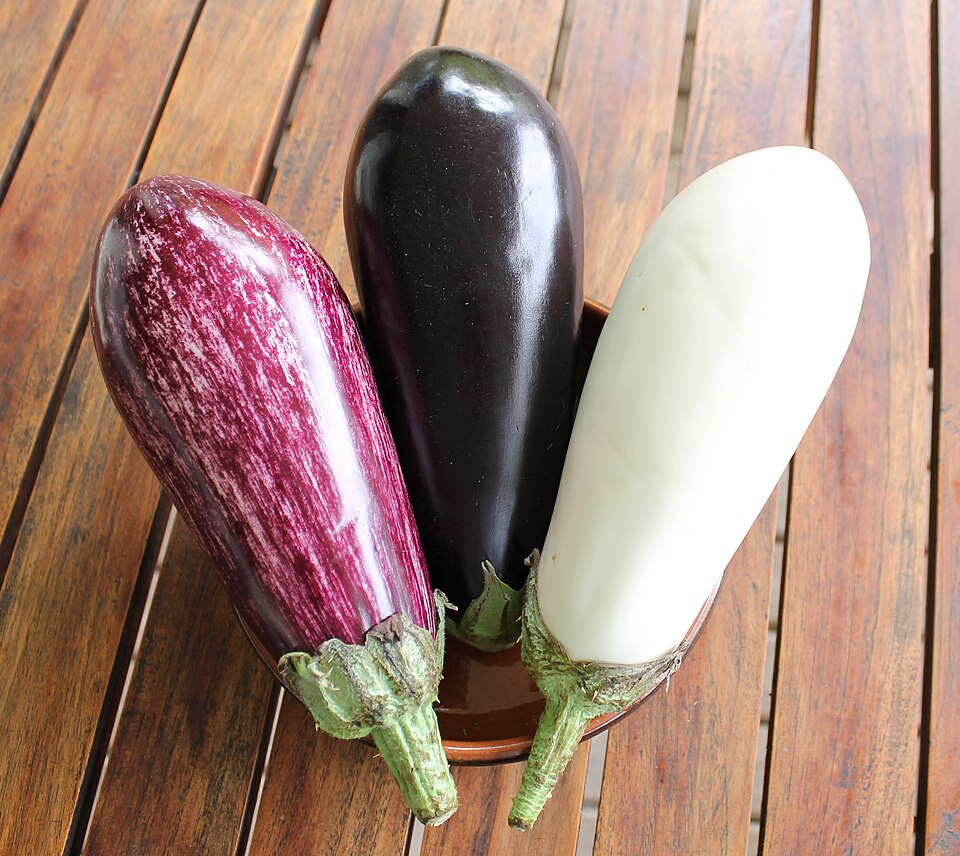


ABOVE: Aubergines come in a wide range of shapes and colours
Photos: Grey Geezer/Wikimedia Commons; Kod B/Wikimedia Commons (aubergines from Ivory Coast); Chixpix/Pexels
Nutritional benefits
Aubergine is one of those quietly supportive foods. It won’t spike your blood sugar or overwhelm your system; it works gently in the background. Its deep purple skin contains nasunin, a potent antioxidant that helps protect cells from oxidative stress, particularly in the brain. That alone makes it worth keeping the skin on when cooking.
It also offers:
- Polyphenols that support metabolic function
- Fibre to support digestion and blood sugar balance
- Potassium for heart and nervous system health
Its ability to absorb healthy fats like olive oil makes it especially satisfying, helping meals feel complete and sustaining.
If you enjoy simple, grounded nutrition like this; practical, seasonal, and realistic, you can join Paula’s Sharp Bite newsletter for weekly insights, recipes, and support HERE.
In the kitchen

Aubergine rewards good cooking. Undercooked, it can be spongy. Cooked well, it becomes soft, rich and almost creamy. Salting beforehand can improve texture and reduce bitterness, though many modern varieties don’t require it. Roasting, grilling, or slow cooking are the best approaches; these bring out its depth and allow it to fully absorb flavours.
In New Zealand, aubergines sit comfortably alongside other late summer and early autumn produce like tomatoes, courgettes, capsicums, and fresh herbs. The aubergine is a natural fit for a more diverse, plant-rich way of eating that many people are moving toward.
It’s also a great vegetable for those wanting to reduce reliance on heavily processed foods. When paired with good fats, herbs, and whole ingredients, it becomes something deeply nourishing rather than just an add-on.
Photo: OlgaVolkovitskaia, Pixabay
Simple aubergine recipes
Roasted aubergine with garlic yoghurt & herbs
Serves 2
Ingredients
- 1 large aubergine
- 2 tbsp olive oil
- 1 clove garlic, crushed
- ½ cup natural yoghurt
- juice of ½ lemon
- handful fresh parsley or mint, chopped
- salt and pepper

Method
- Preheat oven to 200°C.
- Add coconut oil to roasting dish and allow it to melt in the oven.
- Slice aubergine in half lengthways and score the cut flesh. Toss pieces in the melted oil and season well.
- Roast for 30–40 minutes until soft and golden, and remove from oven.
- Mix yoghurt, garlic and lemon juice. Spoon over aubergine and top with herbs.
Aubergine & lentil stew
Serves 2
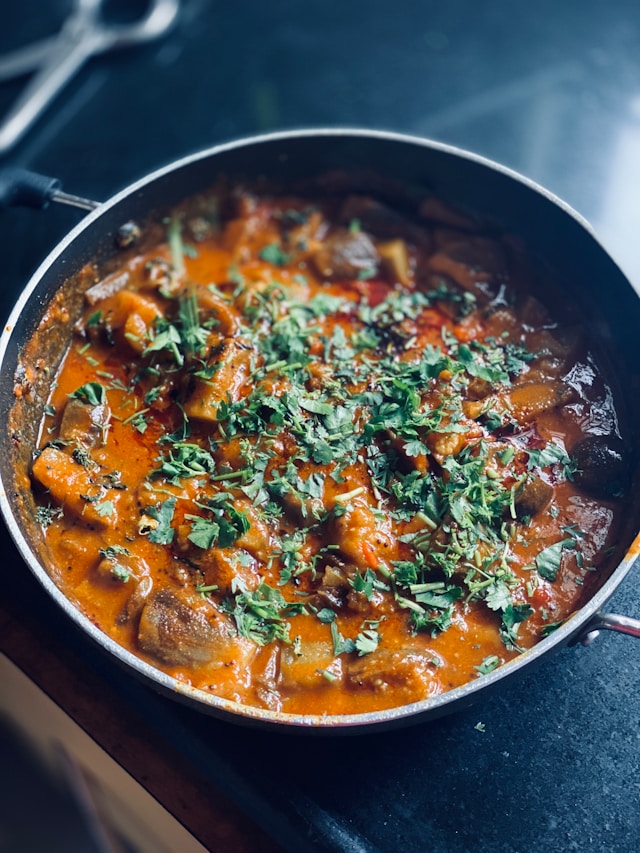
Ingredients
- 1 aubergine, diced
- 1 onion, chopped
- 1 clove garlic, crushed
- 1 carrot, diced
- 1 tin chopped tomatoes
- ½ cup red lentils
- 1 tsp cumin
- 1 tsp smoked paprika
- 2 cups vegetable stock
- olive oil
- salt and pepper
Photo: Sanket Shah, Unsplash
Method
- Heat oil and sauté onion and garlic until soft.
- Add aubergine and cook until lightly browned.
- Stir in remaining ingredients, and simmer 25–30 minutes until lentils are tender.
- Season and serve.

Want more seasonal nutrition inspiration?
I’m Paula Sharp, nutritional therapist and founder of Paula Sharp Nutrition, supporting women to nourish their health with sustainable food and mindset habits.
If you’d like seasonal recipes, practical nutrition tips and evidence-based wellness insights delivered straight to your inbox, I’d love you to join my newsletter. Sign up at: www.paulasharpnutrition.com
Photo at top of article: Zen Chung, Pexels