Posts

Asparagus in season: From garden to table

Few vegetables announce spring quite like asparagus. With its tender green spears and delicate flavour, asparagus is one of New Zealand’s most celebrated seasonal treasures.

Nutritional therapist Paula Sharp introduces this spring star, including gardening tips, recipes and nutritional benefits.

We hope you enjoy this free article from OrganicNZJoin us to access more, exclusive member-only content

A brief history

Asparagus (Asparagus officinalis) has been enjoyed for thousands of years. Native to the Mediterranean, it was prized by the ancient Egyptians, Greeks, and Romans for its flavour and medicinal properties. The Romans were so fond of it that they had an ‘asparagus fleet’ to quickly transport the spears to distant outposts.

By the sixteenth century it had spread across Europe, and later to the New World. Today, asparagus is enjoyed globally, with New Zealand growers producing some of the freshest and most flavourful asparagus in the Southern Hemisphere.

Harvested from September to December, asparagus thrives in regions such as Waikato, Canterbury, and Hawke’s Bay, where sandy soils and long sunshine hours provide the perfect growing conditions.

Nutritional benefits

This slender spear is as nourishing as it is delicious. Asparagus is low in calories but high in vitamins A, C, E, and K, as well as folate – vital for energy and cell repair.

It’s rich in antioxidants that help protect the body from free-radical damage and contains prebiotic fibre, which supports healthy digestion and feeds the beneficial bacteria in your gut.

Its natural diuretic properties make it light and cleansing, ideal for a springtime reset.

Gardening tips for organic growers

Asparagus is a perennial crop – once established, it can produce for 15–20 years. It requires patience, but the rewards are worth it. Planting time is from mid September on, as the soil temperatures rise.

  • Site and soil: Choose a sunny, sheltered spot with free-draining, sandy soil. Asparagus dislikes wet feet. Work in plenty of compost and organic matter before planting.
  • Planting: Start with crowns (one-year-old roots). Plant them in trenches 20cm deep, spreading the roots out like a starfish, and cover lightly with soil. Gradually fill in the trench as shoots appear.
  • Spacing: Allow 40cm between plants and one metre between rows – asparagus needs room to spread.
  • Patience pays: Don’t harvest for the first two years, allowing plants to establish strong root systems. From year three, you can harvest spears for about six weeks each spring.
  • Organic care: Mulch well to keep weeds down and moisture in. Feed annually with compost or seaweed. In winter, after the ferny foliage dies back, cut it down and top-dress with organic matter.
  • Growing your own asparagus is an investment, but once it’s in, you’ll be rewarded with tender, chemical-free spears every spring.

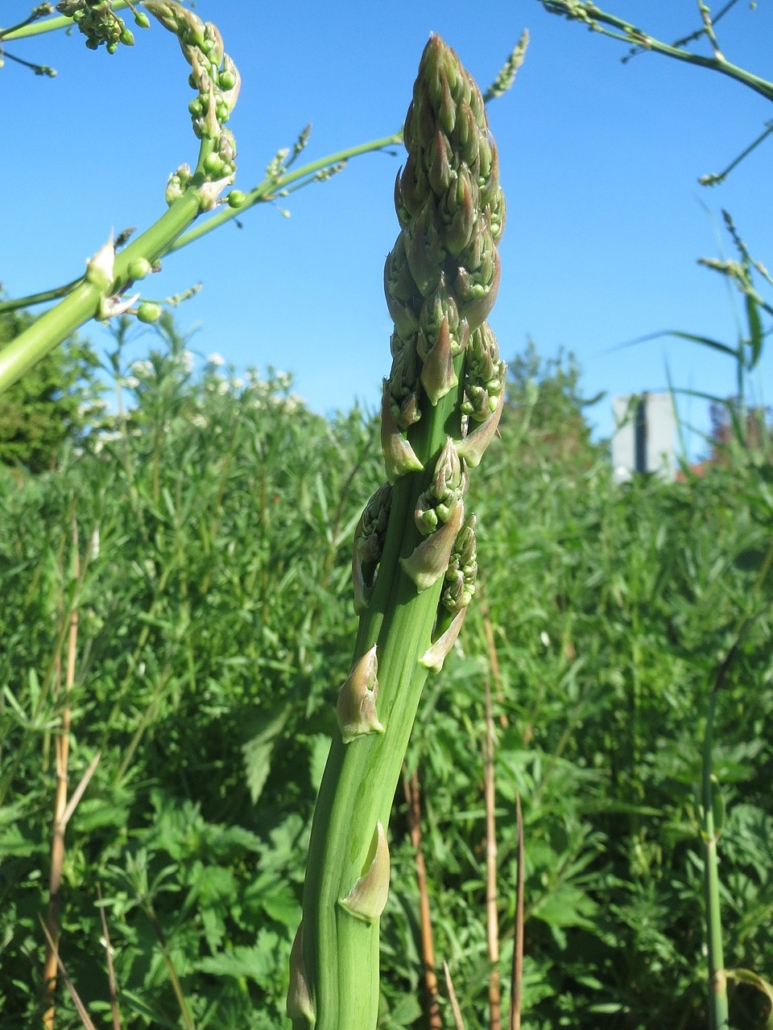
Photo: AnRo0002 / Wikimedia Commons

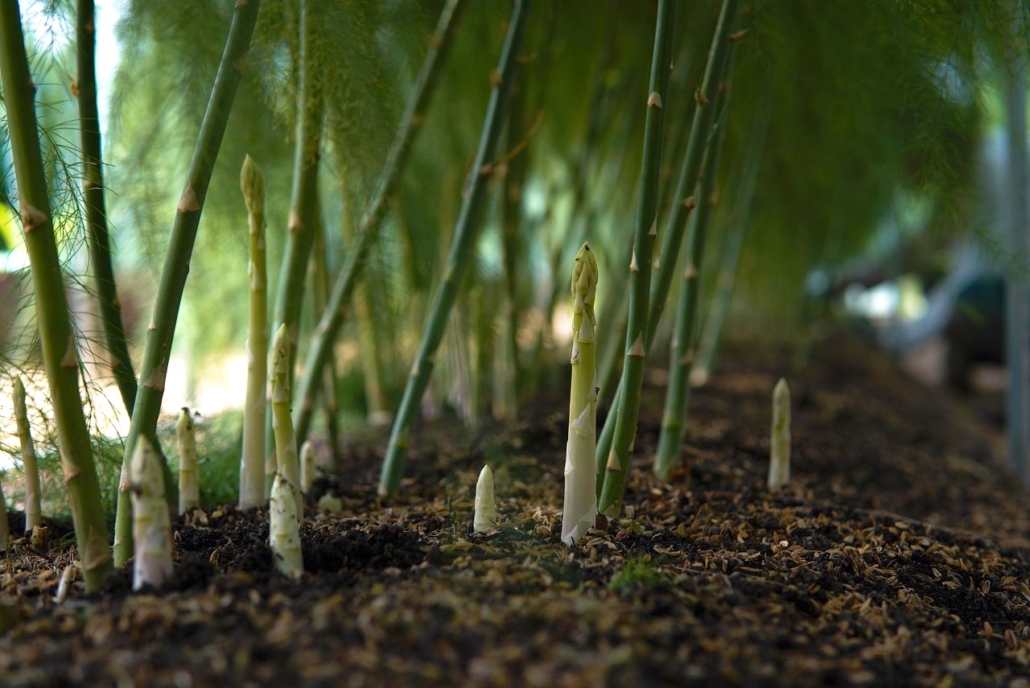
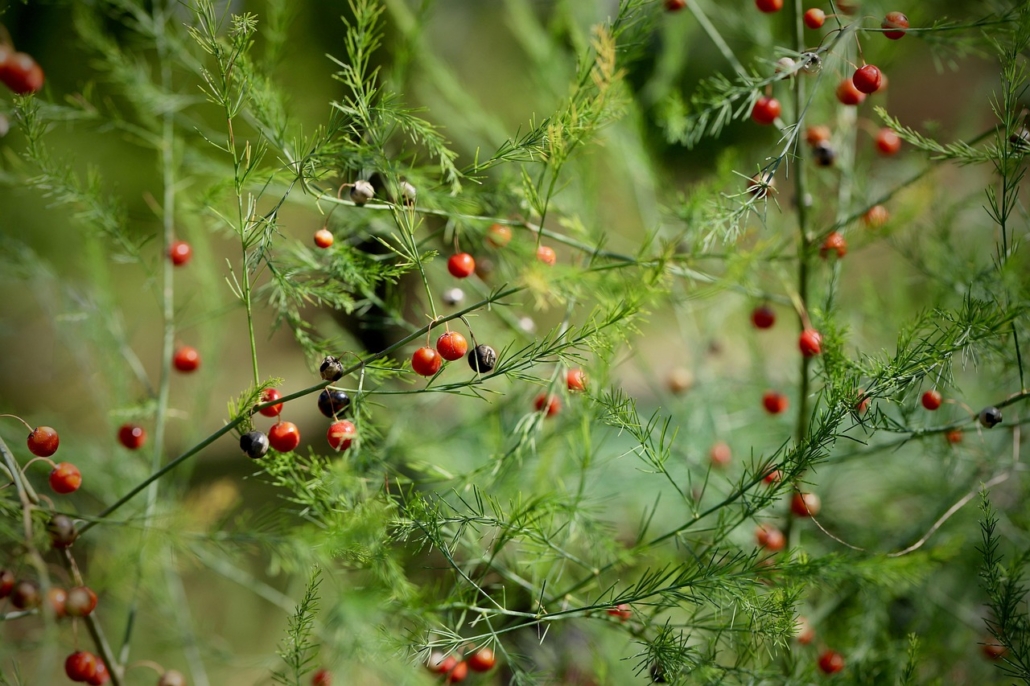
ABOVE: Asparagus spears, if not harvested, will grow into a ferny plant, and later in the season produce red berries.

Images: Kohei Tanaka / Pixabay and Nennieinszweidrei / Pixabay
DID YOU KNOW?
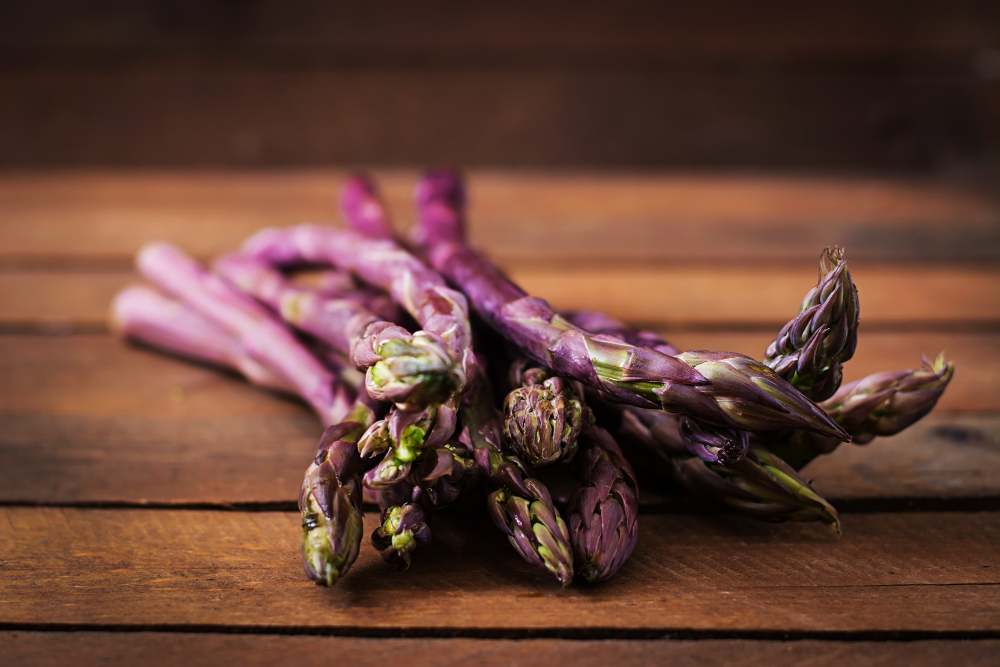
Purple asparagus is grown in New Zealand too – it’s sweeter and higher in antioxidants than the green variety. (Aphrodisiac history: In nineteenth-century France, grooms were served three courses of asparagus before their wedding night!)
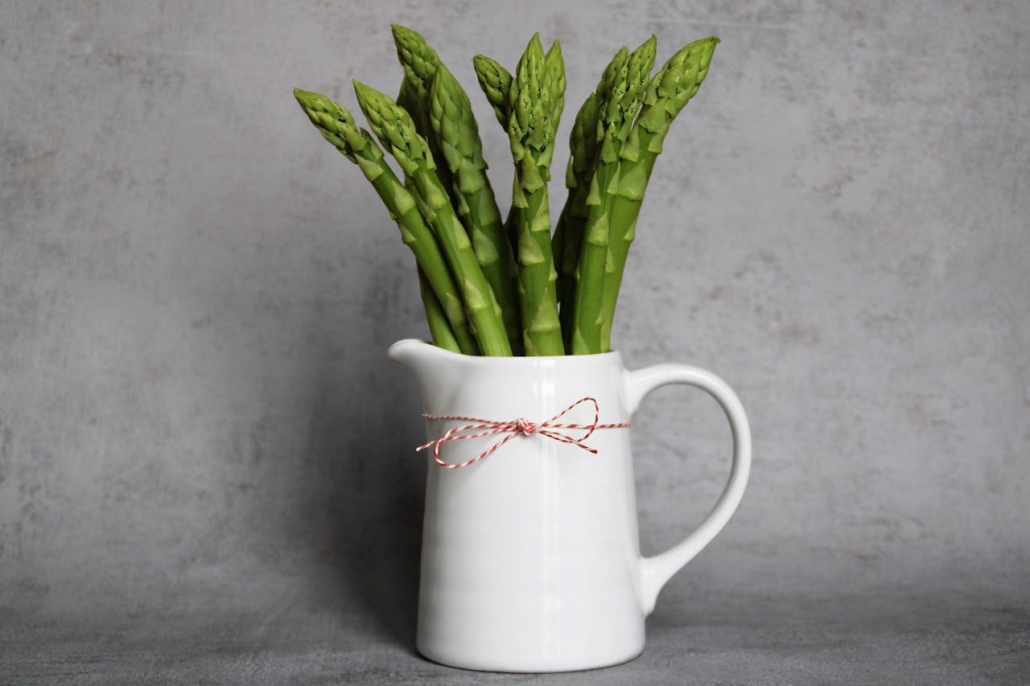
Storage tip: Trim hard ends and then stand the asparagus spears upright in a glass with 2–3cm of water in the fridge.  Cover loosely with a plastic bag. It can stay crisp for up to 5 days.

Images: Timolina / Freepik and Michaela St / Pexels)

Cooking with asparagus

Asparagus is wonderfully versatile. It can be steamed, roasted, grilled, stir-fried, or even shaved raw into salads. Its delicate flavour pairs beautifully with lemon, mint, eggs, seafood, and olive oil. Quick cooking helps retain its vibrant green colour and crisp texture.

Quick cooking: Overcooking dulls colour and flavour. Just a few minutes is enough to bring out its best.

A simple preparation trick: hold a spear at both ends and bend gently – it will naturally snap at the point where the woody end begins. Save those woody ends for stock.

Why eat in season?

It simply tastes better.  Choosing local, seasonal asparagus ensures maximum flavour, nutrition, and freshness. By buying asparagus from your local grower or farmers’ market between September and December, you’re supporting sustainable farming while enjoying one of nature’s finest spring offerings.

Asparagus is more than just a seasonal vegetable – it tastes like spring! It is a nutrient-rich powerhouse vegetable, and a very rewarding plant for gardeners. Whether roasted with garlic or tossed in a zesty salad, asparagus brings vitality to the plate and reminds us that the best food is seasonal, local, and grown with care.

Asparagus recipes

Here are two easy ways to enjoy fresh asparagus in season.

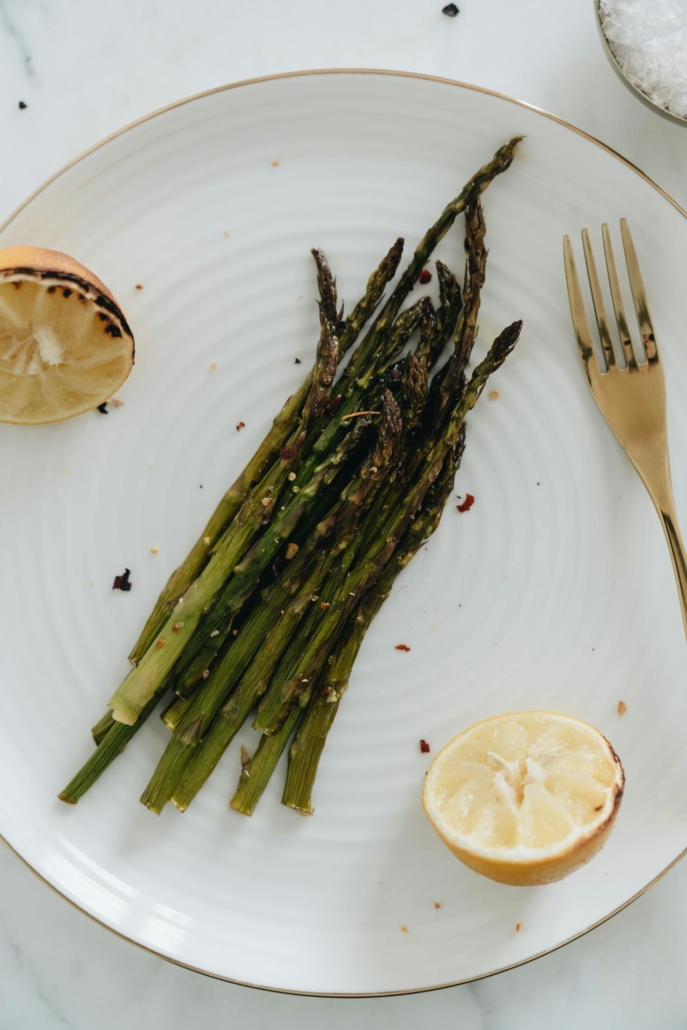
Lemon & garlic roasted asparagus

Serves 4. Simple, fresh, and perfect as a side.

Ingredients

  • 500g fresh asparagus spears
  • 2 tbsp coconut oil
  • 2 cloves garlic, finely chopped
  • Juice and zest of ½ a lemon
  • ¼ tsp sea salt
  • ¼ tsp cracked black pepper
  • 2 tbsp grated Parmesan cheese (optional)

Method

  1. Preheat oven to 200°C (fan bake).
  2. Add coconut oil to a baking tray and heat (until liquid)
  3. Trim asparagus and arrange on the tray, add garlic, and season with salt and pepper.
  4. Toss gently.
  5. Roast for 12–15 minutes until just tender.
  6. Finish with lemon juice, zest, and Parmesan if desired.

Image: Alleksana / Pexels

Asparagus, Feta and Mint Salad

Serves 4.

Ingredients

  • 400g fresh asparagus spears
  • 100g baby spinach leaves
  • 80g feta cheese, crumbled
  • ¼ cup fresh mint leaves, torn
  • 2 tbsp extra virgin olive oil
  • 1 tbsp balsamic vinegar
  • 1 tsp honey
  • ¼ tsp sea salt
  • ¼ tsp cracked black pepper

Method

  1. Trim asparagus ends off and save for stock.
  2. Blanch the spears in boiling water for 2 minutes.
  3. Refresh in iced water, drain, and cut into 3–4cm pieces.
  4. In a large bowl, combine spinach, asparagus, feta, and mint.
  5. To make the dressing, put the last five ingredients in a jar and shake.
  6. Pour dressing over salad, and toss gently.

AUTHOR BIO: Paula Sharp is a qualified nutritional therapist dedicated to helping women feel their best through every stage of life.

She works one-to-one via Zoom with clients around the world, supporting women’s health in areas such as gut and digestive repair, hormonal balance, skin and hair vitality, restorative sleep, sustainable weight management, and recovery before and after surgery.

Alongside her private practice, Paula is a guest speaker and writer. Her career began in London, where she worked in the organic fruit and vegetable industry, which sparked a lifelong passion for seasonal, spray-free produce. Now based in Whakatāne, she tends her own extensive organic garden, putting her philosophy of ‘food as medicine’ into daily practice.

For more seasonal recipes and women’s wellness insights, explore Sharp Bite, Paula’s blog at www.paulasharpnutrition.com – a fresh bite of inspiration for healthier, more joyful living.

Photo at top of article: Almaje / iStock


Broccoli: A Winter Hero

As the cold settles into our gardens and kitchens, one green vegetable continues to thrive: broccoli. Nutritional therapist Paula Sharp introduces this winter hero, including gardening tips, recipes and nutritional benefits.

We hope you enjoy this free article from OrganicNZJoin us to access more, exclusive member-only content

This pretty vegetable that looks remarkably like a small shrub has a fascinating history, impressive health credentials and in my opinion a starring role in the winter vegetable patch. Broccoli is more than just a basic side dish; it’s a powerhouse for human health.

From Ancient Rome to Kiwi gardens

Broccoli (Brassica oleracea var. italica) was grown in the Mediterranean over 2000 years ago. It was developed by ancient Romans from wild cabbage, and its name comes from the Italian broccolo, meaning ‘flowering crest of a cabbage’ (broccoli is the plural). Broccoli belongs to the nutrient-rich Brassica family, along with cauliflower, kale, Brussels sprouts and cabbage.

Broccoli made its way through Europe and into our kitchens much later, and today it is a staple in many New Zealand gardens, especially in winter. This cool-season crop doesn’t just survive frosts; it thrives in them.

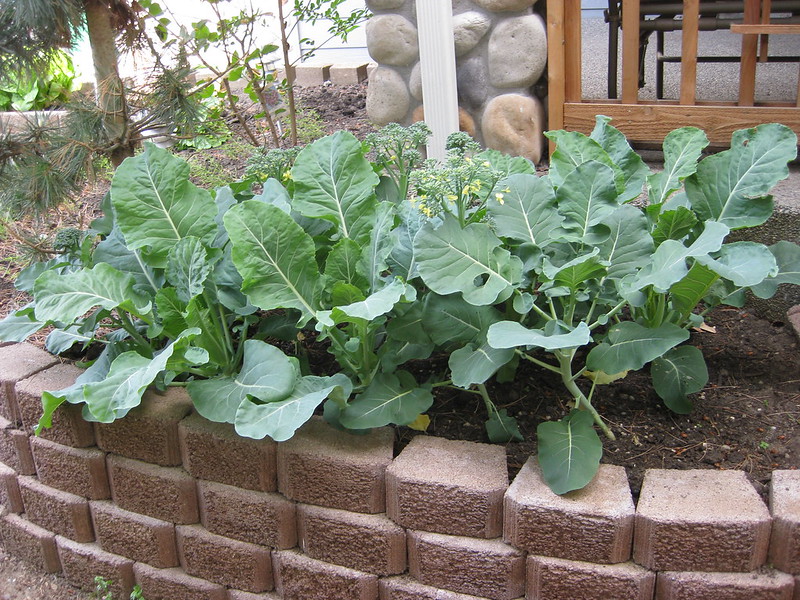
Broccoli plants growing in a raised bed. Photo: Rachael & Zane Ross / Flickr CC BY-NC-SA 2.0

Growing broccoli

Broccoli loves cool, crisp conditions, making it ideal for late autumn and winter planting in New Zealand.

Sow seeds or transplant seedlings from mid-autumn, and you’ll be harvesting heads from June through to September, with August being a prime time in many regions.

You can still sow seeds or transplant seedlings in August or early September. Plug plants will also continue to thrive particularly in cooler areas or a chilly spring.

For best growth:

  • Plant in full sun
  • Use well-drained, compost-rich soil
  • Keep soil moist but not soggy
  • Space plants well to allow airflow and strong head formation

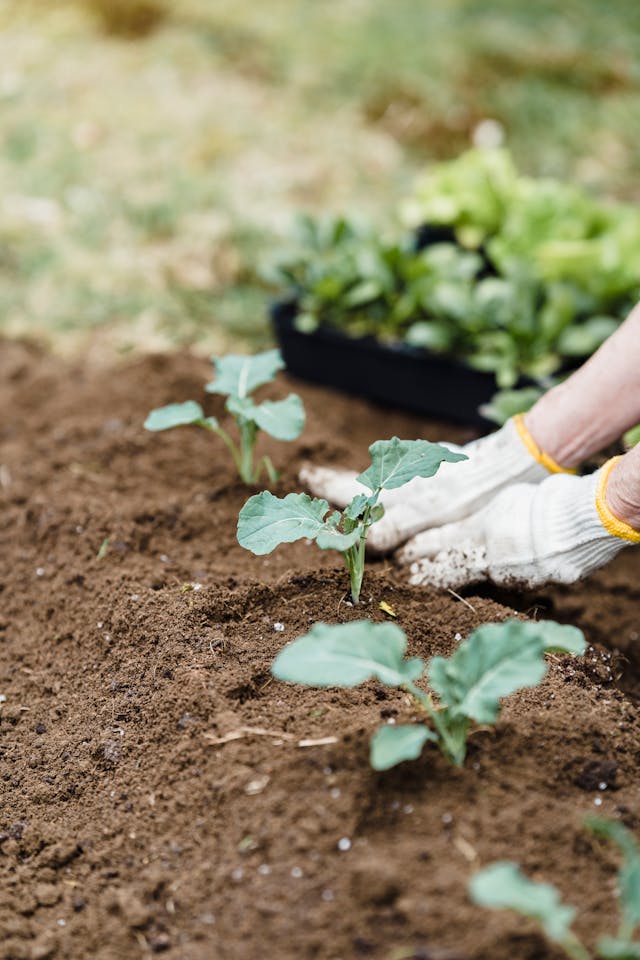
Photo: Gretta Hoffman, Pexels

You’ll know it’s ready to harvest when the central head is tight, deep green, and about the size of a fist. Cut just above the first set of leaves. Many varieties produce smaller side shoots after the main head is removed, giving you bonus crops well into spring.

Broccoli’s nutritional benefits

Broccoli truly earns its superfood status. Packed with vitamin C, fibre and antioxidants, broccoli is a winter immune-booster. Its compounds – sulforaphane, glucosinolates and indole-3-carbinol – help fight inflammation, support hormone balance and protect against cellular damage.

Key nutrients:

  • Vitamin C – For immune defence, collagen production, and iron absorption
  • Vitamin K – Vital for bone health and blood clotting
  • Folate – Essential for DNA repair and cell growth
  • Potassium and magnesium – Help regulate blood pressure and muscle function
  • Iron – Supports energy and oxygen transport
  • Calcium – Supports bone health

Powerful phytochemicals:

  • Sulforaphane – A compound linked to reduced inflammation, detoxification, and potential cancer-fighting properties
  • Lutein and zeaxanthin – Support healthy vision and protect against eye strain

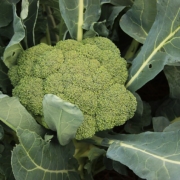
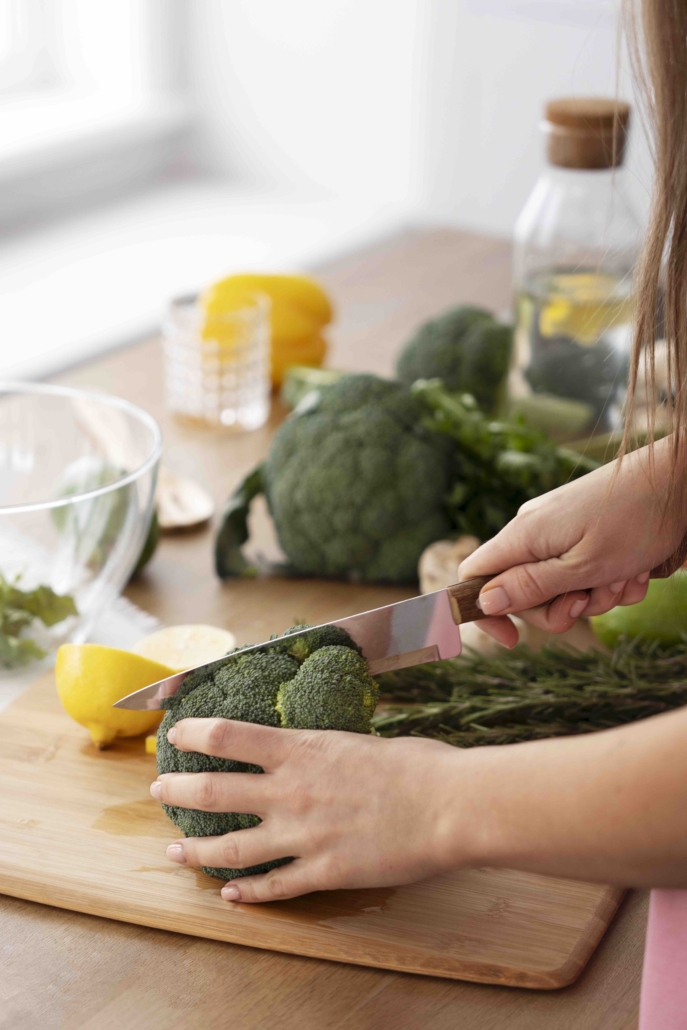
Photo: Freepik

The best ways to eat broccoli

Different cooking methods impact nutrient availability, so it pays to mix things up:

  • Light steaming helps preserve sulforaphane and vitamin C
  • Roasting enhances flavour but slightly reduces heat-sensitive nutrients like vitamin C
  • Raw broccoli (like in slaws or salads) keeps vitamin C levels high but may cause bloating or discomfort for people with sensitive digestive tracts.
  • Stalks and leaves are edible too: dice them into soups, stir-fries or make vegetable stock for extra fibre and flavour. I sneak these into bolognaise sauces, meat or vegetarian pies and rice dishes (don’t tell my children).
  • NB: Older broccoli stalks or stems can be very fibrous.  If so, peel these before dicing and cooking.

Absorption tips

Pair broccoli with a source of healthy fat (like olive oil, avocado, or tahini) to absorb fat-soluble vitamins like Vitamin K. Combine it with vitamin C-rich foods (like lemon juice or capsicum) to boost plant-based iron absorption.

Why eat in season?

Choosing in-season broccoli means you’re getting it at its freshest, most nutritious, and most affordable. It also supports local growers and reduces the environmental impact of long-haul transport. Whether you grow it yourself or pick it up from your local farmers’ market, broccoli in August is a winter win – it just tastes better.

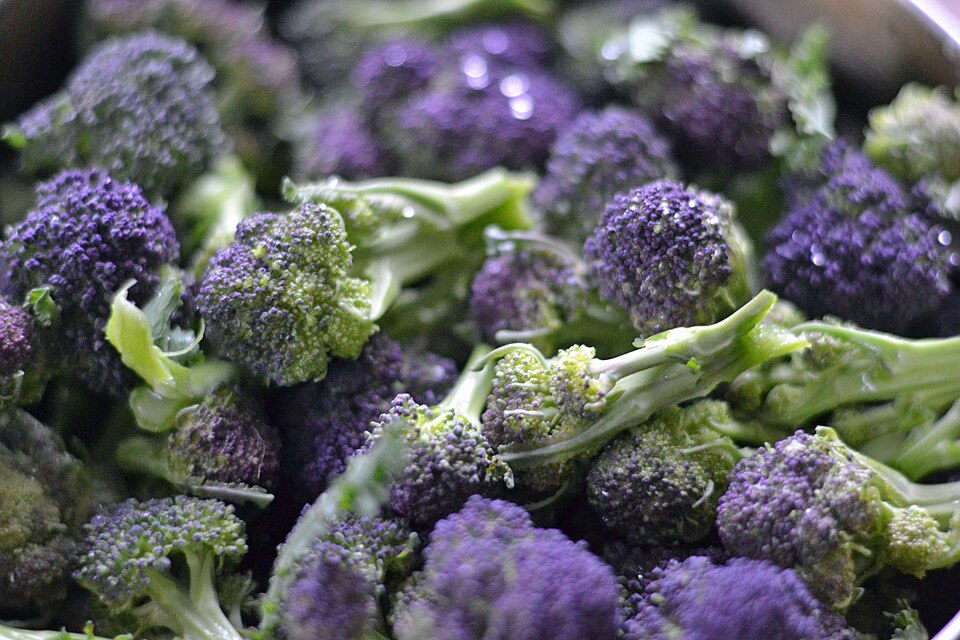
Purple sprouting broccoli – photo: Conall/Flickr

Broccoli recipes

Here are two easy ways to enjoy broccoli while it’s at its peak.

Lemon and garlic broccoli

Serves 4 as a side dish.

  • Lightly steam florets from a medium head of broccoli for 4–5 minutes.
  • Toss with 2 teaspoons of extra virgin olive oil, 2 cloves of minced garlic, a pinch of flaky sea salt, and a squeeze of fresh lemon juice.

Simple, fresh, and perfect as a side.

Creamy broccoli and pumpkin soup

Serves 4. This makes a beautifully textured soup with the broccoli florets and blended pumpkin.

Ingredients

  • 1 onion
  • 4 cloves garlic
  • 1 large teaspoon olive oil
  • 1 medium pumpkin or large butternut squash
  • 1 large broccoli head
  • 1 litre vegetable stock

Photo: Paula Sharp

Method

  1. Dice the onion and dice or mince the garlic, then sauté in oil.
  2. Cut the pumpkin or squash into cubes.
  3. Chop the broccoli stem (save the florets for later), and simmer with the stock until soft. For a thicker soup, add less liquid. 
  4. Blend until smooth with a stick blender.
  5. Cut the rest of the broccoli into florets and steam them.
  6. Add florets to the soup and season well.
  7. Top with a sprinkle pumpkin seeds and a swirl of Greek yoghurt or coconut cream.

AUTHOR BIO: Paula Sharp is a nutritional therapist working one-to-one via Zoom to support women’s health, restore gut health and digestion, hormonal balance, skin and hair, sleep, shifting weight and health pre- and post-surgery. www.paulasharpnutrition.com

She is also a guest speaker, giving talks to companies on nutrition and mindset. In London she worked in the organic fruit and vegetable industry, and now she is based in Whakatāne, growing her own extensive spray-free garden.

Photo at top of article: Alabama Extension, Wikimedia Commons


Love leeks!

A champion winter vegetable 

Nutritional therapist Paula Sharp loves leeks. Here she introduces this often unsung hero, including gardening tips, recipes and nutritional benefits.

We hope you enjoy this free article from OrganicNZJoin us to access more, exclusive member-only content

Elegant, elongated with a mild onion flavour, leeks are a staple in New Zealand kitchens and gardens throughout winter. The leek is a cultivar of the broadleaf wild leek (Allium ampeloprasum), and is the largest vegetable cousin of garlic, chives, spring onions, onions, and shallots. Leeks are more subtle in taste to their pungent onion relative and add a savoury sweetness to food without overpowering other flavours.

Leeks arrived in New Zealand with settlers from the British Isles. Historically, they were cultivated by ancient Egyptians and were highly prized by the Romans. In Wales, the leek is a national symbol, worn on Saint David’s Day and linked to historic battles and Welsh identity.

Growing leeks

In New Zealand, leeks are sown from early spring and harvested throughout the autumn and winter, with peak availability in June and July. They are well-suited to our cool, moist climates and thrive in loose, fertile soil. The plants take several months to mature and are ready to harvest when they reach 2–3 cm in diameter, although smaller ‘baby leeks’ are also prized for their tenderness. I love to use early, baby leeks interchangeably with late-planted spring onions.

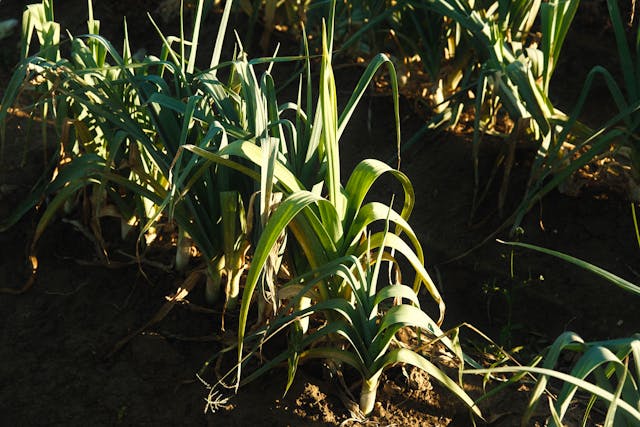
The best growing conditions for leeks include full sun, and rich, well-drained soil with plenty of compost. They require regular watering and benefit from a technique called blanching — mounding soil around the stems to keep them tender and pale. This process not only gives leeks their classic white base but also improves the flavour. To harvest, gently loosen the soil and pull up the plant by the base. Leeks can be stored in the fridge for several weeks, or left in the garden and harvested as needed, even in frosty conditions.

Rows of leeks showing the blanching technique. Image: Mat Reding /Pexels

Health benefits

Leeks pack a punch nutritionally. Nature again provides the right vegetables (and fruits) at the right time of year to support human health. They are dense in fibre, but it’s the sulphuric smell of all alliums where the nutritional magic lies. This distinct smell acts as an insect deterrent while the vegetable is growing and is a delight for the gut microbiome when it’s eaten.

These sulphuric compounds have antibacterial, antifungal and antiviral properties. The rich antioxidants of leeks (polyphenols and kaempferol) are heart-protective and have anti-inflammatory effects. The sulphur compounds (such as allicin) not only support cardiovascular health but also immune function.

Other health benefits of leeks are:

  • Vitamin K – for blood clotting and bone health
  • Vitamin A – supports vision and immune function
  • Vitamin C – helps with collagen formation and immune defence
  • Folate – for cell growth and development
  • Manganese and iron – supports metabolism and red blood cell production
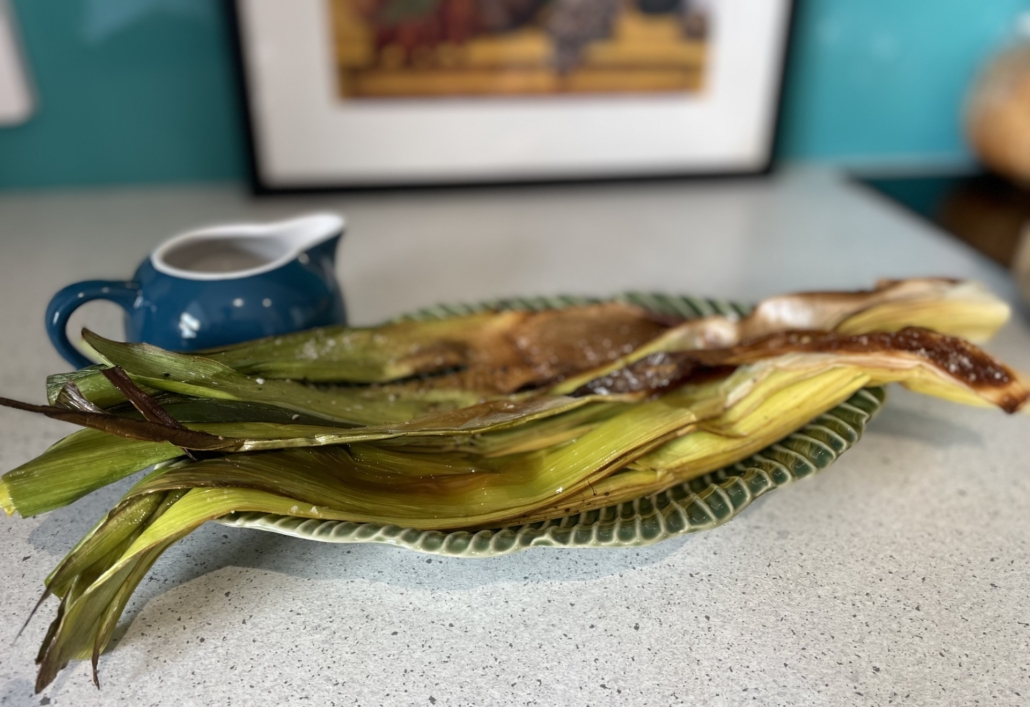
Roasted leeks with vinaigrette – recipe below (Photo: Paula Sharp)

Cooking that maximises nutrition

Most of these nutrients are concentrated in the lower white and light green portions of the leek. The more fibrous darker green tops are great in stocks, soups, or even finely chopped into stir-fries. Cooking leeks lightly — by sautéing, steaming, or slow roasting — preserves their medicinal qualities while softening their texture and enhancing their sweetness.

To maximise iron and vitamin A absorption, pair leeks with a source of vitamin C (like lemon juice or capsicum) or healthy fats such as olive or coconut oil.

Leeks are especially popular and well matched in potato and leek soup, a classic winter delight. Roasted leeks make a fantastic side dish, and combine beautifully with cheese, mustard, and herbs like thyme and tarragon.

Before cooking, always rinse leeks thoroughly. Their layered structure can trap soil and grit, particularly between the white and green sections. Slice them lengthwise and soak in water to remove any debris.

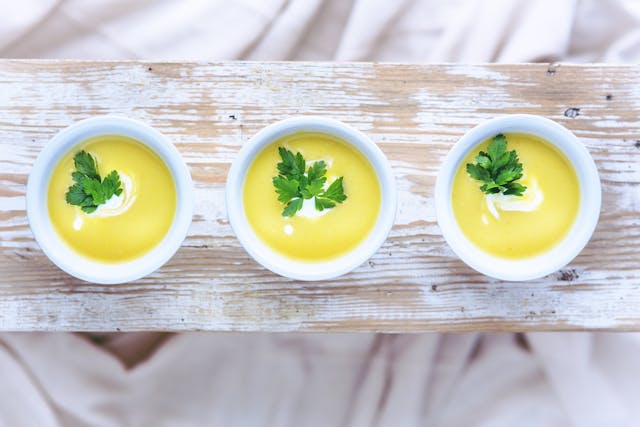
Potato, leek and coconut milk soup

Ingredients

  • 2 tbsp coconut oil or butter
  • 3 leeks, white and light green parts only, sliced
  • 2 garlic cloves, minced
  • 4 medium potatoes, peeled and diced
  • 1.2 litres vegetable or chicken stock
  • Salt and pepper to taste
  • ½ cup coconut milk
  • Chopped parsley to garnish

Method

  1. Heat oil in a large pot. Sauté leeks and garlic until soft.
  2. Add potatoes and stock, bring to boil, then simmer for 20–25 minutes.
  3. Blend with a stick blender until smooth, or use a potato masher for a chunkier consistency. 
  4. Stir in coconut milk, season, and garnish with parsley.

Roast leeks and mustard vinaigrette

Roast leeks are a taste sensation and can be a dinner party show stopper.

Ingredients

  • 4 medium leeks, trimmed and halved lengthwise
  • 2 tbsp coconut oil
  • Salt and pepper to taste

For the vinaigrette:

  • 1 tbsp Dijon mustard
  • 1 tbsp red wine vinegar
  • 1 tsp raw honey
  • 3 tbsp olive oil

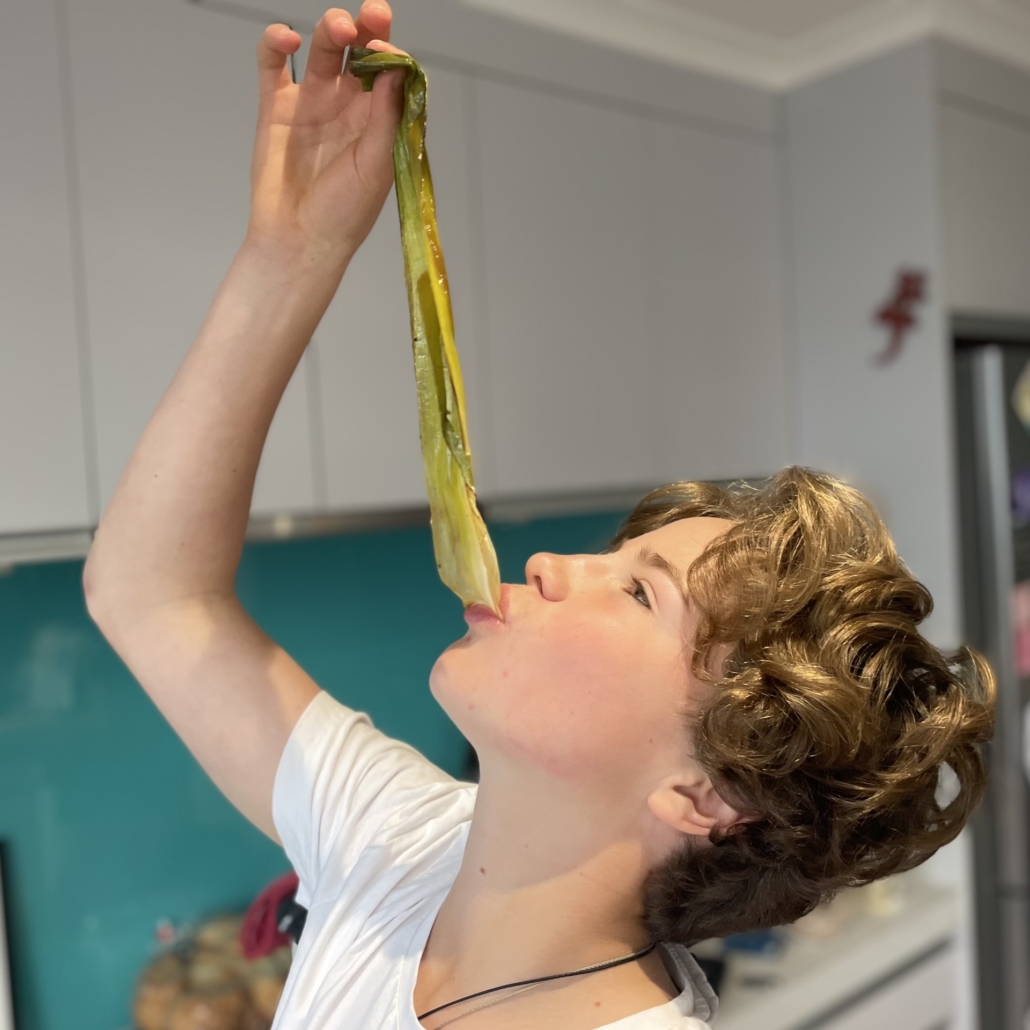
Lochlan Holding relishing some roasted leeks (Photo: Paula Sharp)

Method

  1. Preheat oven to 180°C fan bake.
  2. Place leeks in a baking dish, with coconut oil, salt, and pepper.
  3. Roast for 20 minutes or until tender.
  4. Whisk mustard, vinegar, honey, and olive oil vinaigrette.
  5. Drizzle over warm leeks before serving.

AUTHOR BIO: Paula Sharp is a nutritional therapist working one-to-one via Zoom to support women’s health, restore gut health and digestion, hormonal balance, skin and hair, sleep, shifting weight and health pre- and post-surgery. www.paulasharpnutrition.com

She is also a guest speaker, giving talks to companies on nutrition and mindset. In London she worked in the organic fruit and vegetable industry, and now she is based in Whakatāne, growing her own extensive spray-free garden.


Get-well-soon soup

By Philippa Jamieson 

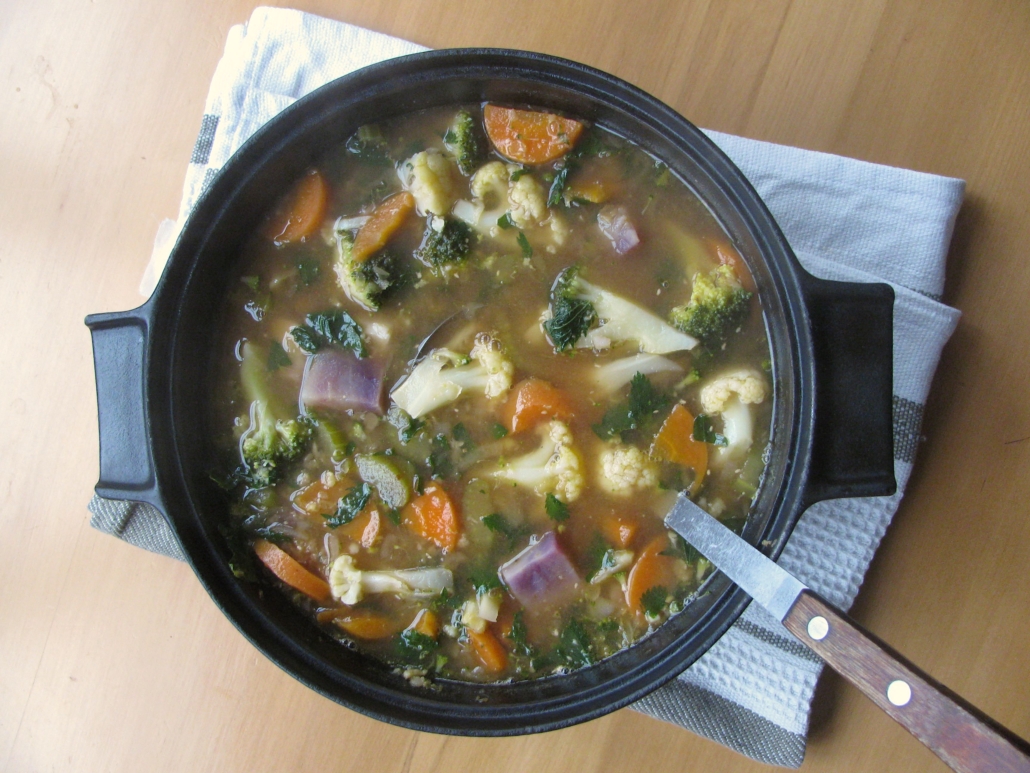
Any time I feel remotely unwell, I whip up a batch of this super flavourful and nourishing soup. Serves 4–6.

This is a versatile soup. You can play around with quantities depending on your taste, and use whatever veges are in season: potatoes, pumpkin, parsnip, kūmara, Jerusalem artichoke, yams, broccoli, cauliflower, mushrooms, kale, shredded cabbage.

Red lentils are quick to cook in this soup, but you could instead add cooked brown lentils, or cooked beans such as pinto or adzuki. 

For an even more Asian flavour, add some chopped Vietnamese mint while cooking, or garnish with freshly chopped coriander.

Recipe first published in Organic NZ, June/July 2018

We hope you enjoy this free article from OrganicNZJoin us to access more, exclusive member-only content

Ingredients 

  • 1                 large onion, finely chopped
  • 2–3             garlic cloves, crushed
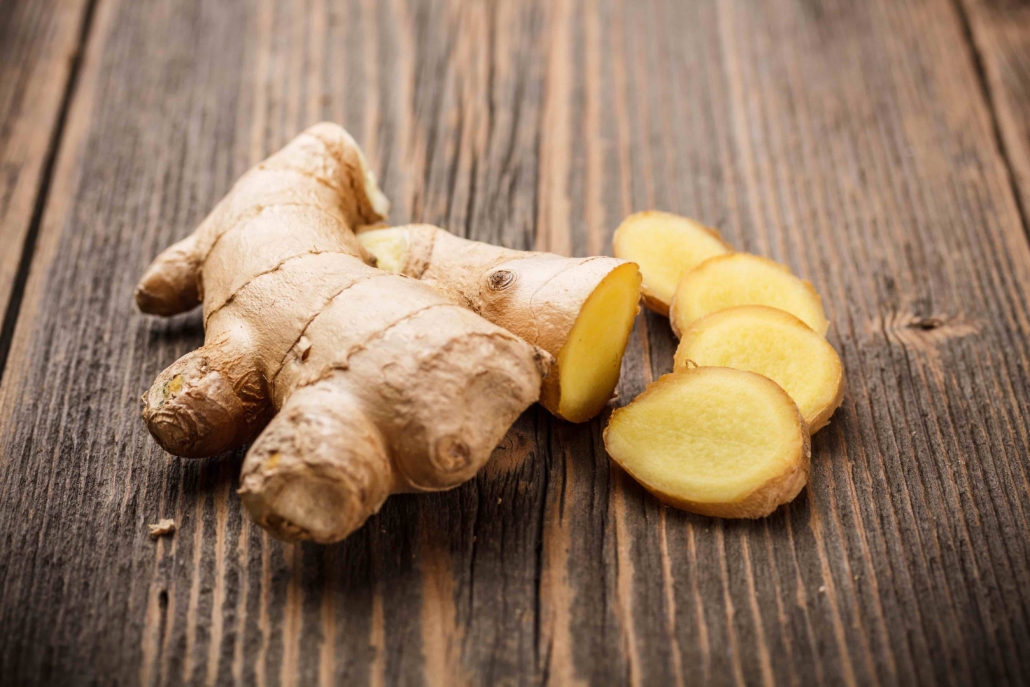
  • 1 T              ginger, grated
  • 1 T              soy sauce
  • 1 T              vinegar (balsamic or apple cider)
  • ¼ t              chilli (or more, to taste)
  • salt to taste
  • 1 T              coconut or olive oil
  • ½ cup         red lentils
  • 1 litre          stock or water
  • 2–3 stalks   celery
  • 1                 large carrot, sliced
  • 2 cups        kūmara, cubed
  • 2 cups        broccoli or cauliflower florets
  • 2 cups        chopped leafy greens such as kale, cabbage, spinach, silverbeet, puha or nettle
  • 1 T              miso, dissolved in ½ cup hot water
  • juice of 1 lemon
  • 2–3 T          karengo seaweed, dried

Method

  1. Heat oil in a large heavy-bottomed saucepan, then add the first 7 ingredients.
  2. Put the lid on, reduce heat, and let the base ingredients ‘sweat’ for 5-10 minutes.
  3. Add lentils and stock or water, and bring to a simmer.
  4. After 10 minutes, add celery and carrots.
  5. After another 5 minutes, add kūmara.
  6. Once root veges and lentils are becoming soft, add broccoli and cook a further 5 minutes.
  7. Add leafy greens and cook 5 more minutes.
  8. Turn off heat, add lemon juice and miso, and stir through.
  9. Put some karengo to each person’s bowl, then ladle in the soup.
Philippa Jamieson was editor of Organic NZ magazine (2008-2021) and is now the editor of the monthly e-news and website content.

Hot cross buns

By Isabel Pasch 

Enriched and decorated breads are a European Easter tradition that dates back thousands of years. Easter was the festival held at the (northern hemisphere) spring equinox in celebration of the Germanic goddess Eostre, the goddess of dawn. It was the end of the long winter fast. The Christian version was really just a takeover of this festivity.

In Europe, enriched and braided brioche breads grace Easter breakfast tables. In Britain, spiced and fruit-enriched hot cross buns became the popular national treat.

Recipe first published in Organic NZ, March/April 2021

We hope you enjoy this free article from OrganicNZJoin us to access more, exclusive member-only content

Freshly baked hot cross buns

Equipment needed

  • 1 baking tray or 1 approx. 24 cm square or round cake tin
  • Kitchen Aid (optional)
  • Piping bag with fine tip, or plastic freezer bag
  • 1 large mixing bowl

Ingredients (makes 10–12 hot cross buns) 

  • 750 g        strong bread flour
  • 400 ml      milk
  • 1               egg
  • 150 g        unsalted butter
  • 150 g        golden sugar
  • 1 tsp         vanilla essence or ½ scraped vanilla pod
  • 1 pinch     salt
  • 3 tsp         active dry yeast or 40 g fresh yeast

Egg glaze

  • 1               egg
  • 3 Tbsp      water
  • 1 pinch     sugar
  • 1 tsp         spice mix (as below)

Spice mix

  • 2 tsp         ground cinnamon
  • 1 tsp         ground ginger
  • 1 tsp         ground nutmeg
  • 1 tsp         ground coriander
  • 1 tsp         ground allspice
  • 1 pinch     ground cloves

Dried fruit mix

  • 80 g          raisins
  • 40 g          cranberries
  • 20 g          currants
  • 20 g          dried apricots

Cross mix

  • 150 ml      milk
  • 50 g          flour

Method

  1. All ingredients should be at room temperature. Start by soaking the fruit (for 1 hour).
  2. In a large bowl, dissolve the yeast in the milk and add 1 Tbsp of the sugar. Add approximately 150 g flour and mix to a runny batter. Stand in a warmish place for about 30–45 min or until the mixture is bubbling and starting to rise.
  3. Add the rest of the flour, sugar, egg, vanilla, salt and spices. Roughly mix with a wooden spoon.
  4. Tip the dough onto a lightly floured surface and use your hands. Knead and punch the dough until all ingredients are combined and the dough is smooth. Add the butter. Now it gets a little messy again, but as the dough starts to bind the butter, it will become smooth and shiny. Mix by hand for about 10 minutes. Or, if using a kitchen aid or similar, use the dough hook and start on slow for 3 minutes, then go to fast for 3 minutes. After adding the butter, knead for another 2–3 minutes or until the butter is fully incorporated.
  5. Drain fruit mix, add to dough, and mix until evenly distributed (1 min if using a mixer).
  6. Return dough to the bowl, cover it with a teatowel and let it rise in a warm place for 60–90 min or until doubled in size. (Tip: you can do this rise overnight. Instead of letting your dough rise, place it in the fridge and take it out the next morning. It pays to reduce the amount of yeast by 1/3 for this step.)
  7. Tip the dough out of the bowl and punch it flat. Divide it into 10–12 equal portions. Roll into round buns and set at equal distance in your greased cake tin or free shape on a tray, and leave to rise for another 30–40 minutes.
  8. Preheat oven to 200ºC.
  9. Just before placing them in the oven, pipe on the cross mix with a piping bag fitted with a fine tip. Or a plastic freezer bag with one corner cut off (small hole) will work fine as a single-use piping bag.
  10. Glaze the buns around the crosses with the egg and spice mix.
  11. Immediately after placing the buns in the oven, drop the temperature to 180ºC. Bake for approximately 30–35 minutes or until golden brown on top. Let cool a little before serving.
Isabel Pasch in the kitchen of Bread and Butter Bakery, Auckland
Isabel Pasch in the kitchen of Bread and Butter Bakery, Auckland. By training a microbiologist and science journalist, Isabel is passionate about organics and ran a bakery for 14 years until 2024, baking a wide range of breads, pastries and more, using certified organic ingredients.

The joys of sauerkraut

By Mike Bradstock

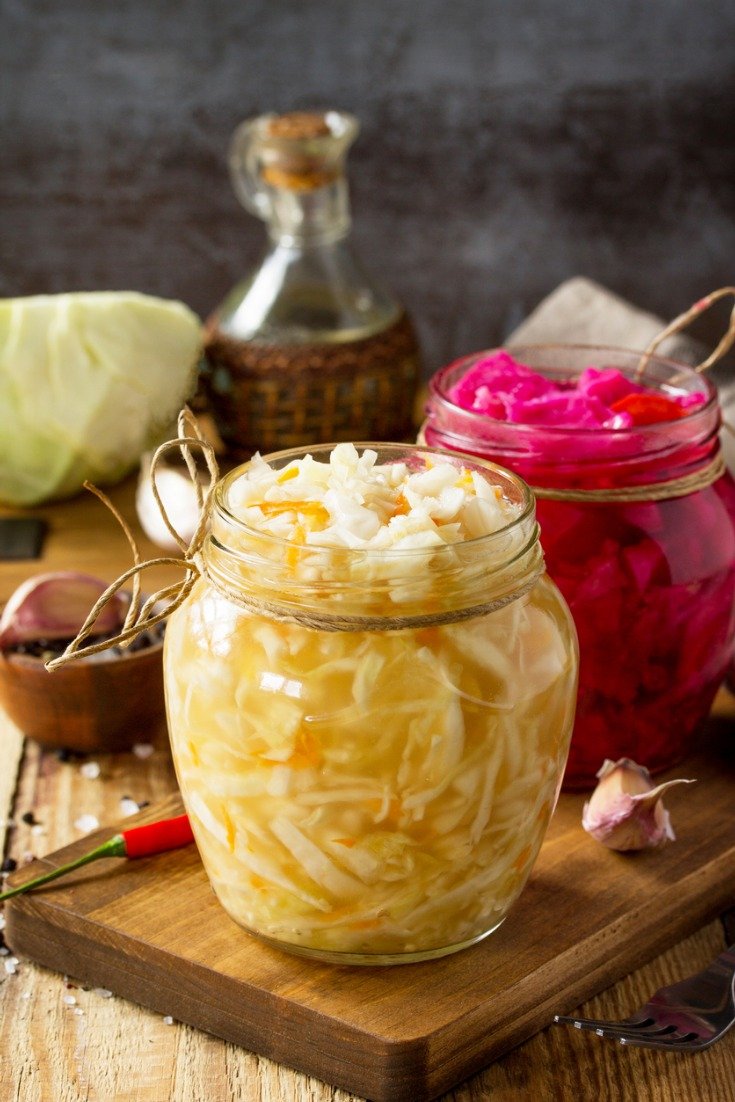
Sauerkraut is one of the healthiest preserves you can make. By a natural fermentation process it converts humble cabbage into a tasty and versatile nutrient-and-vitamin-rich product. It is high in vitamins C, K, B6, folate, and minerals including iron, calcium and magnesium. The only drawback is its comparatively high salt content, though this is partly offset by less need to salt the food you eat it with, and you can remove some of the salt by rinsing immediately before use.

Many people believe sauerkraut needs to be made in bulk and is tricky and a lot of work. In fact it is easy and you can make it in small quantities; I only make only a couple of litres (about one cabbage’s worth) at a time.

The following content is only available to members. Join us for access.