Posts

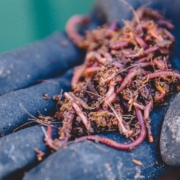
Loving soil, but also learning soil
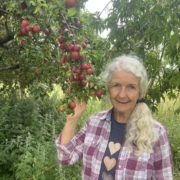
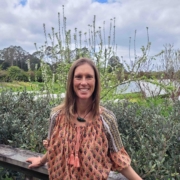
By Jenny Lux

This article was first published by Earthworkers and is republished here with their kind permission.

We hope you enjoy this free article from OrganicNZJoin us to access more, exclusive member-only content

I have always been a details-oriented sort of person. As a child I remember planting flowers with my Mum, learning all of their names and pressing them in a flower press. I later I revelled in learning how to identify and use the three names of all our native vascular flora (Māori, English and scientific). My first career was in plant ecology, after I did a Masters in that area looking at the relationships between soil and the regeneration of kauri forest after fire.

Moving between the details and the big picture, I became seriously concerned about climate change around the time of my late twenties. Not just mildly concerned as I had been in my youth, but in-your-face, losing-sleep, suffering-existential-fear-and-anxiety level of concern.

Of course, this had coincided with finding a husband who was a big-picture thinker and having two wonderful baby boys. I did not end up giving up at that point, but I decided that when I got back to paid work, I would be dedicating my time to a career in climate action.

Above: Richard scything grass

Growing vegetables

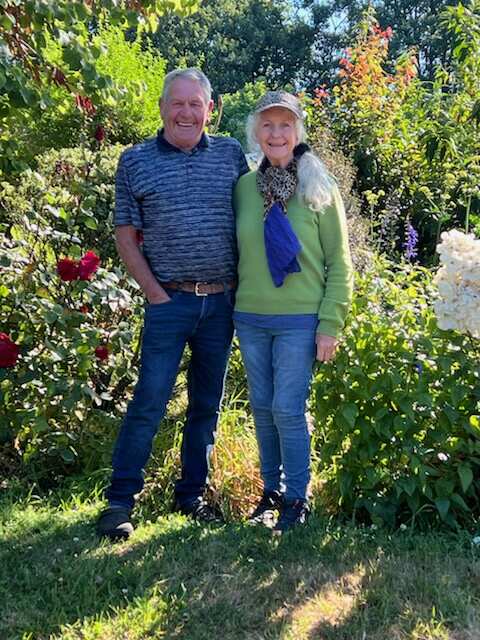
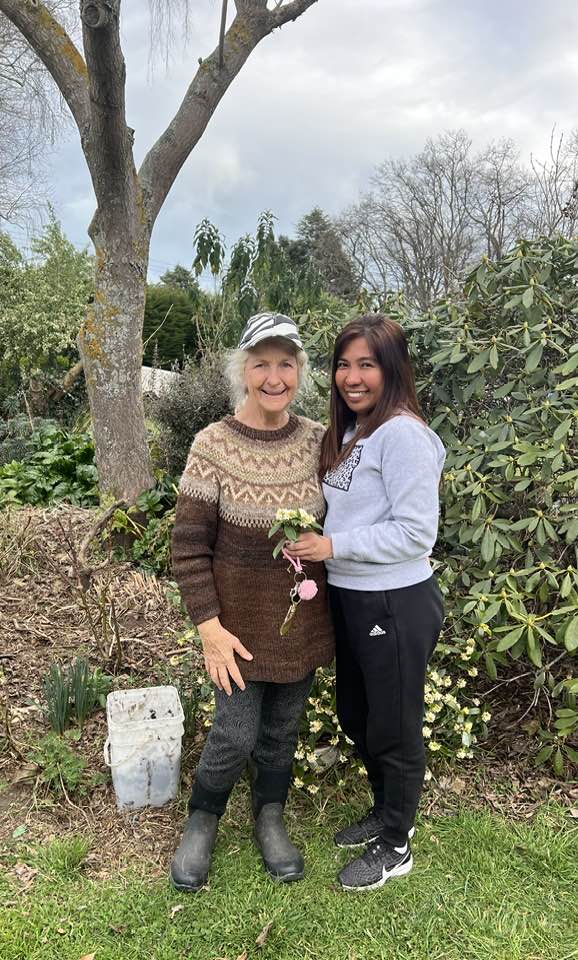
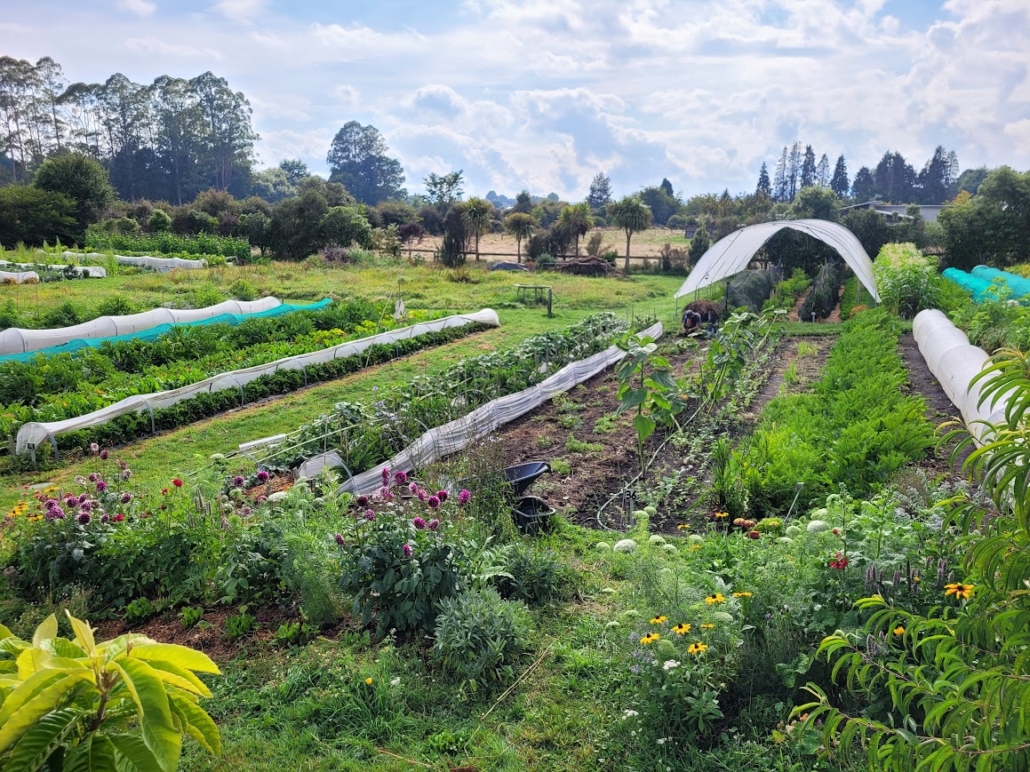
I moved from field-based plant ecology work to growing and selling organic vegetables, as a home-based profession that could keep me close to our kids and our food. Richard helped me establish Lux Organics, a small-scale organic market garden on the outskirts of Rotorua. He initially kept his day job as an ecologist, but then joined me full-time in the business for three years. My parents got involved, providing a generational backbone to the business.

We grew beautiful vegetables for our community, and by the time the Covid crisis and lockdowns occurred, we were able to pivot to vege boxes, bringing them to peoples’ doors with our electric van. We started hiring seasonal staff in 2020, which meant a succession of people learning the organic growing methods with us. By 2023 we had added solar panels to our shed, powering our household, vegetable chiller and van with the sun.

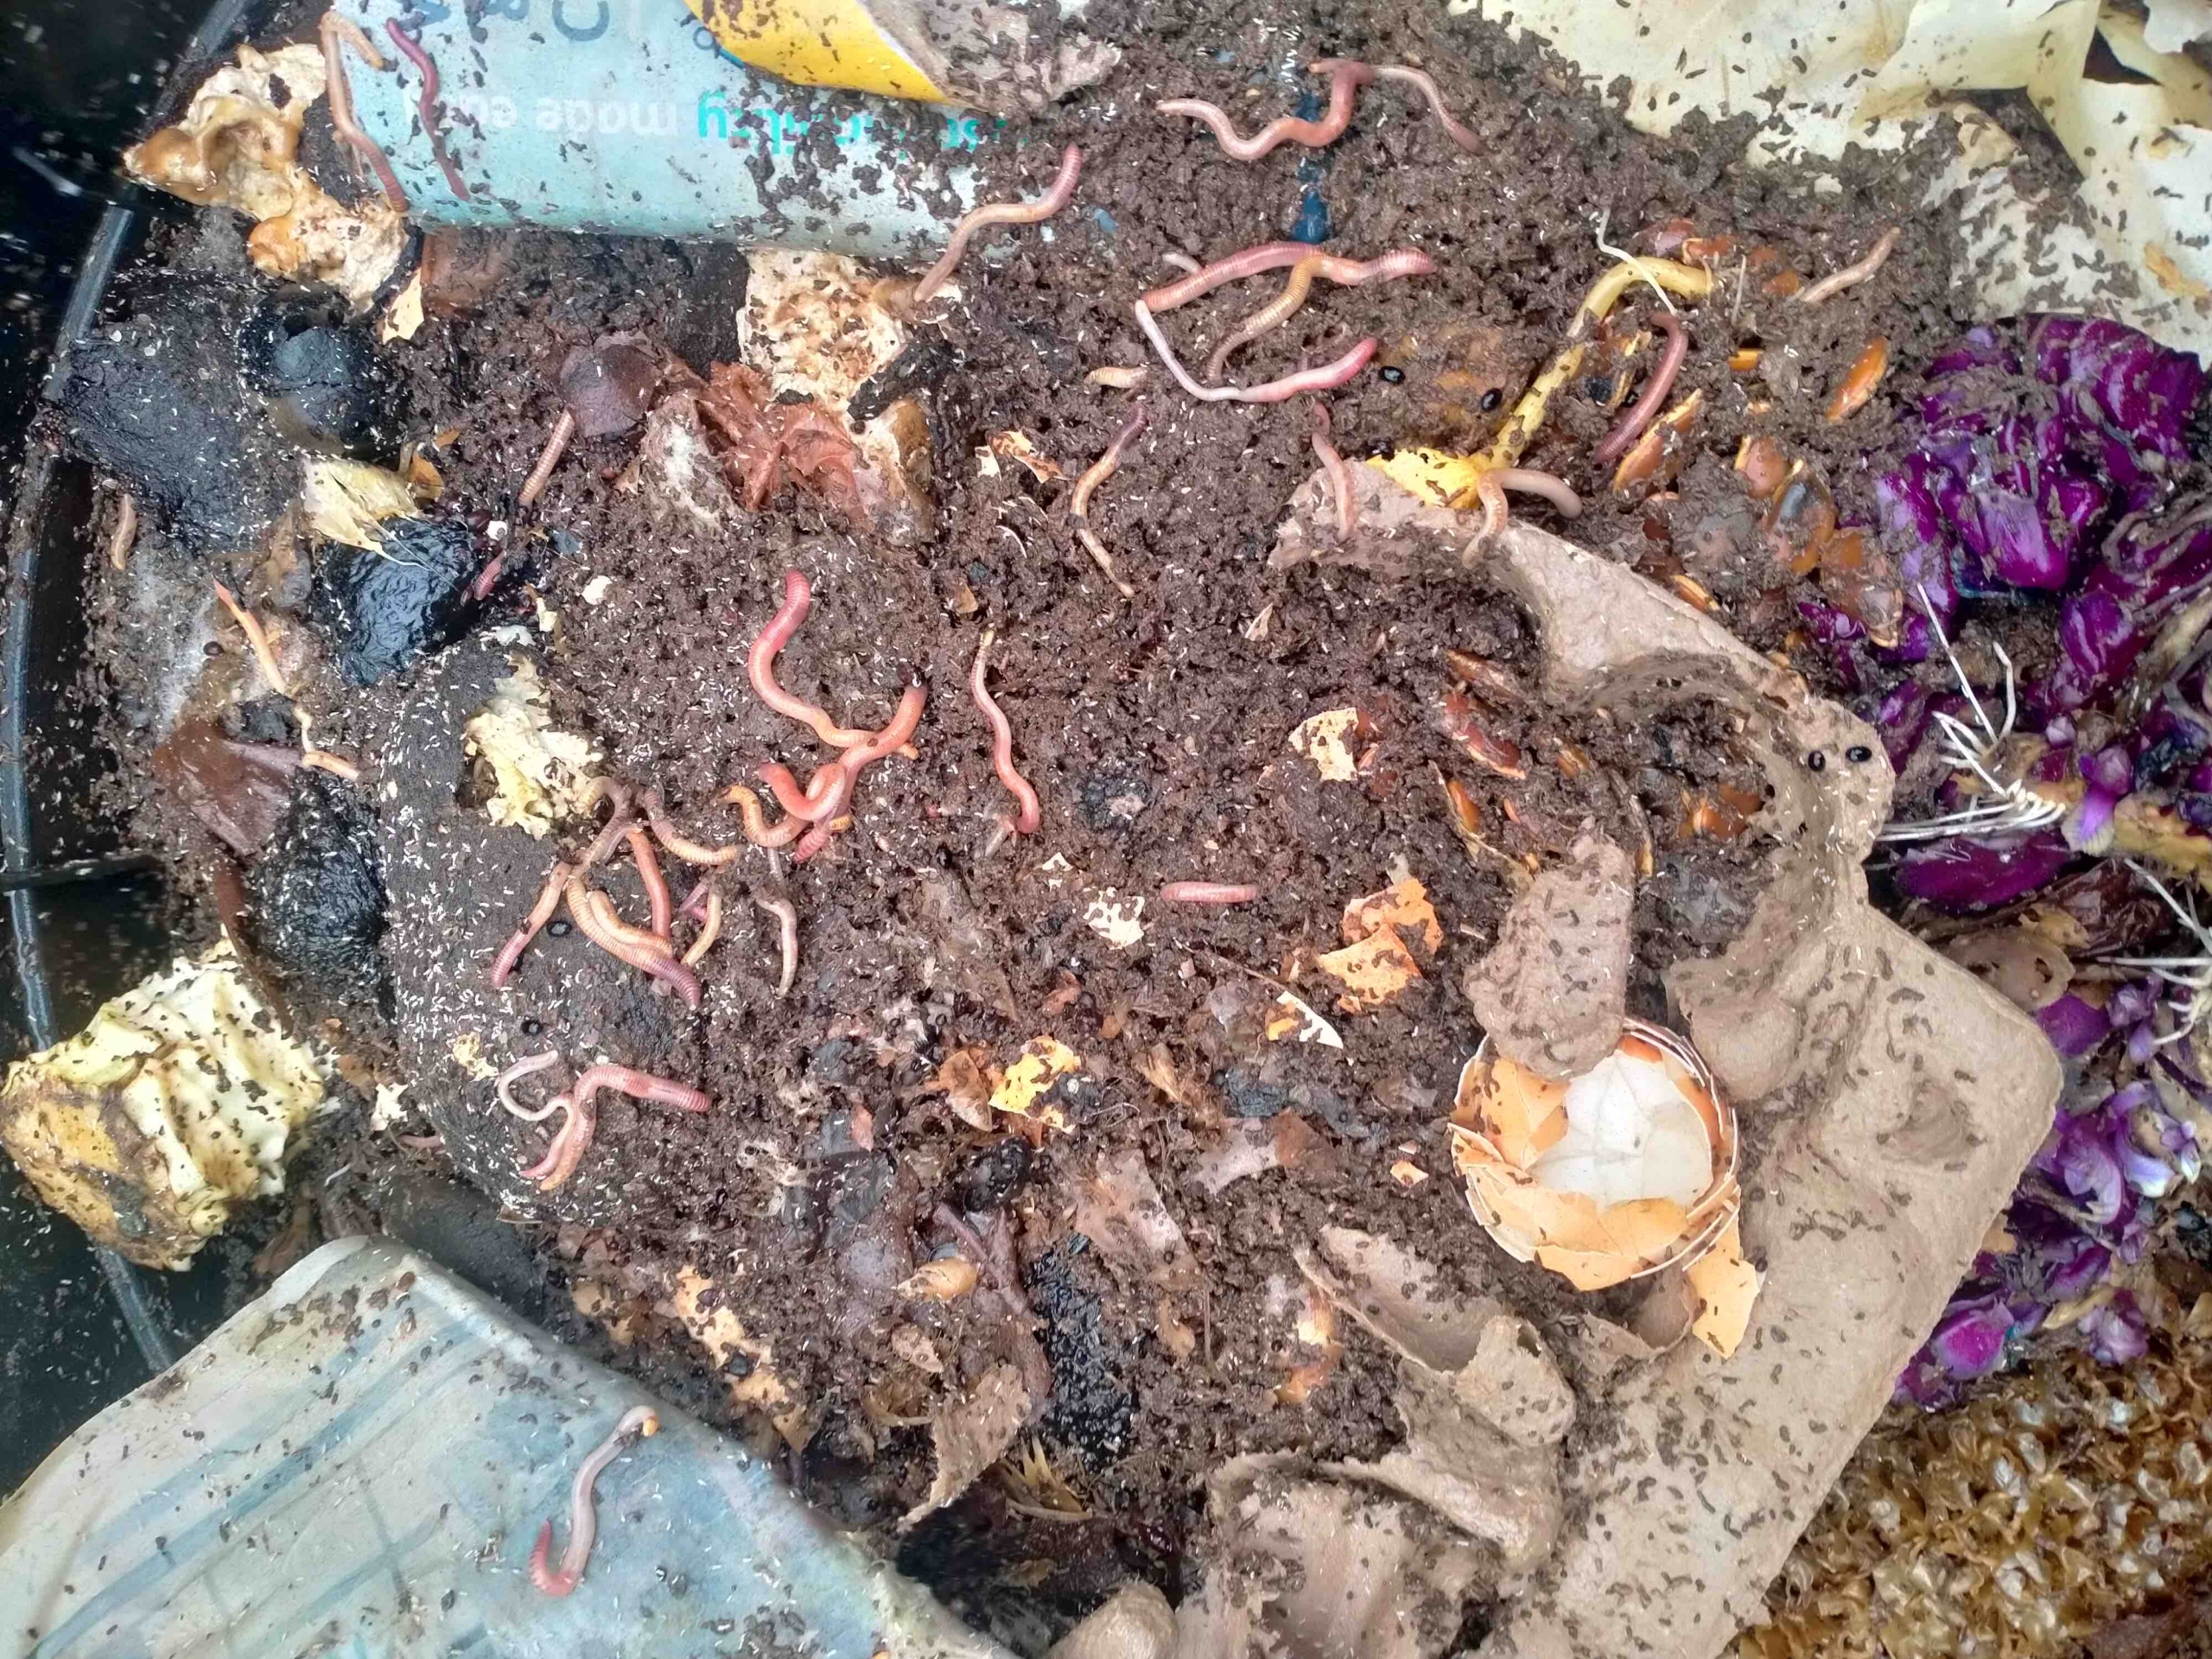
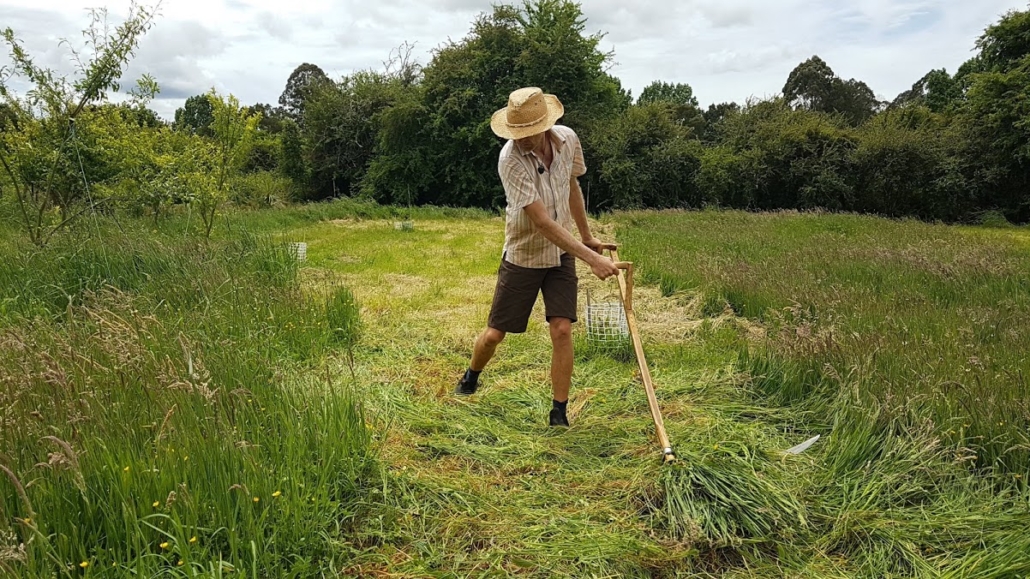
This has been a journey of creating a business that minimises carbon emissions while growing food. Hand tools, electric tools and hands in the soil have been our main inputs. The productivity of our soil has been the foundation of our business (as it is for all farming) and we have strived to care for it, taking soil tests each year, and learning about every aspect of soil health along the way.

Beetroot

When you grow a crop for market, and especially when you grow over 40 of them (!), there are a lot of questions and uncertainties about how to manage the soil, what might be affecting the outcomes you’re seeing, how to solve problems, and how to keep producing all through the seasons.

These veins of query are what led me to the five-day Earthworkers Regenerative Horticulture 101 course in the winter of 2021. I attended with two of my staff and I encountered a whole group of amazing people involved in different sorts of projects who were on my wavelength.

I discovered new terms which opened up my mind to the soil ecosystem in a new way. Quorum sensing, cation exchange, paramagnetism, root exudates, polycropping. I have kept in touch with the group ever since (online and in person), and this has led to multiple fertile exchanges and more farm visits, opportunities to learn and even to help others. It’s a magic human interaction!

ABOVE: Lux Organics market garden, February 2025

In recent years, with the domestic recession, business has been tough, as local people cut their organic vegetable spending. Looking at in a big picture way, it’s a manifestation of how people cannot/do not make longer-term environmental and health choices when they are poor and worried about their daily survival. Our business relies only on its connection with the local food system, rather than export.

While we experienced a huge high after the Covid crisis, when people suddenly became concerned about the sustainability of their local food supply, we are now in a phase of relentless cost-cutting. Our customer base has concentrated to only those who value food produced in a way that is free from contamination, and which looks after land.

Now that I have been working in practical agroecology on my own land for over nine years, I am curious about taking my soil knowledge deeper and broader, to have a wider impact. It’s one of those cliches… the more you learn, the more you realise you don’t know, and it becomes impossible to give simple explanations any more.

I would now never say, “ah, just use compost and everything will be fine”. There’s a lot more to growing, and to soil, than most of us really, truly understand. My curiosity burns and I want to know which levers to pull to achieve the healthiest crops and soil. Looking again to the bigger picture, how we manage soil on our productive land is the probably the most important aspect of New Zealand’s climate emissions profile.

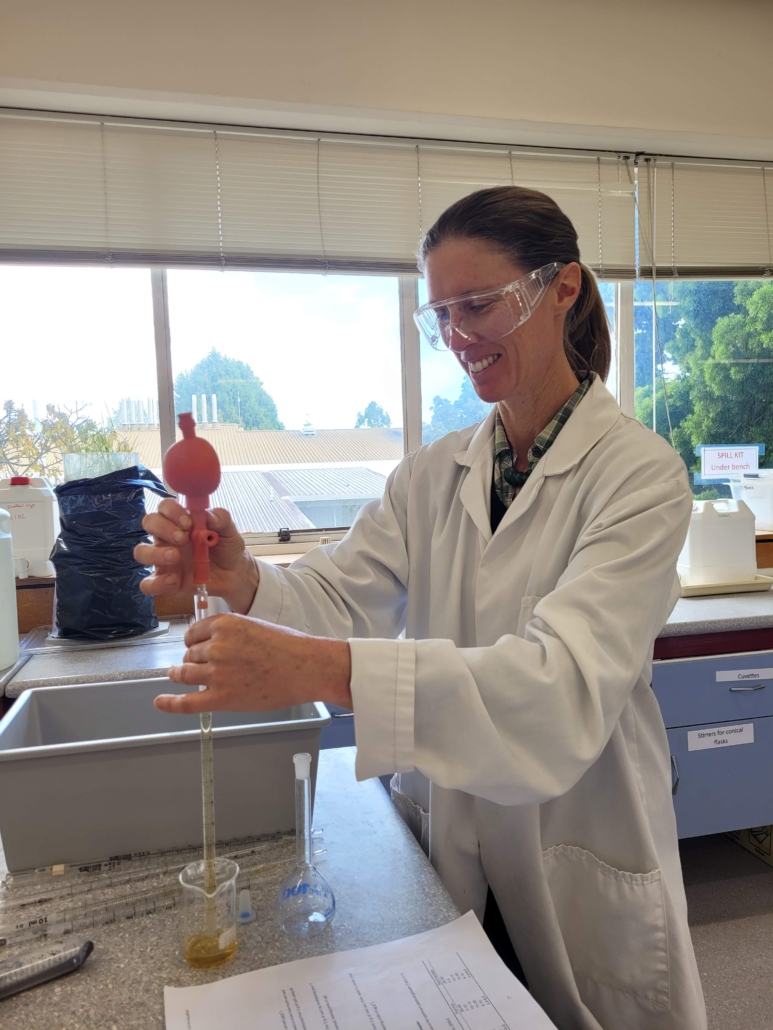
This is why I’ve dedicated pretty much all of my market garden earnings in 2025 so far to further study and investing in my own knowledge growth.

I have taken papers at the University of Waikato in soil science and hydrological management, and I have attended specialist courses by regenerative educators (Graeme Sait from Nutri-tech Solutions, and Nicole Masters from Integrity Soils).

I am building up a research library and reaching out to soil mentors for the next step in my career. I even bought a microscope from a fellow Earthworker (thank you Coral).

All of this new learning is feeding directly into the next stage of my journey — growing my skills, confidence, and contribution through the Earthworkers community.

Over the next few months, I’ll be deepening my learning through the new Regenerative Horticulture 201 and Future Agronomists courses, working directly with Daniel Schuurman as we develop and pilot both programmes. My goal is to grow my capacity as a biology-first regenerative agronomist — someone who can read the soil, guide other growers, and support the shift toward biology-led farming across Aotearoa.

In 2024 I mentored for For the Love of Bees on their year-long Communities of Regenerative Learning programme, which opened a new path for me as a mentor within the sector. That experience, and my continued involvement supporting new growers through the post course Earthworkers WhatsApp network, has shown me how powerful it is when we stay connected — helping one another, sharing knowledge, and learning together every day out in the field.

I look forward to doing Regenerative Horticulture 201 in 2026 and keeping up my active learning and practice. Growing in soil is a bit like general life… you can’t follow one set recipe. Things keep moving and changing, and you have to be observant, responsive and kind.


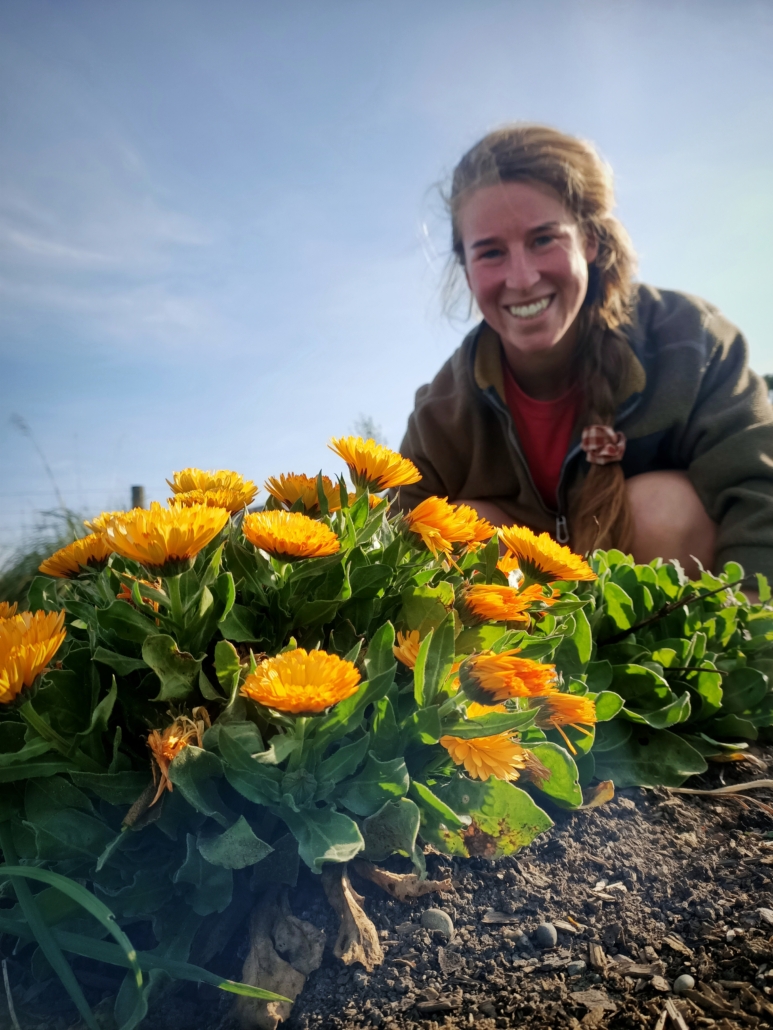
Jenny Lux is a former chair of the Soil & Health Association. Find Lux Organics online here.

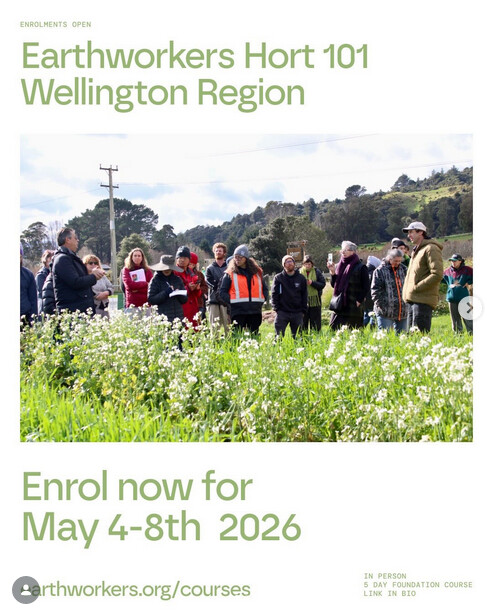
Earthworkers has launched

The natural evolution of For the Love of Bees, Earthworkers has a new hub to support biology-first regenerative horticulture in Aotearoa.

After a year of development they have launched a brand new website, and a full learning pathway.

Enrolments are now open for 2026:

  • The foundation course Hort 101 (4–8 May, Mangaroa Te Awa Kairangi – Wellington region) 
  • The advanced course Hort 201 (13–17 April, Palmerston North, in partnership with Live2Give)

Both courses come with post-course support via a WhatsApp chat network to help growers transition to resilient, profitable, biology-first regenerative systems.

Earthworkers’ first alumni blog, Cultivating Knowledge Together, features Jenny Lux— an experienced grower and organic advocate who will be one of the first participants in our new Hort 201 and Future Agronomists programmes, designed to grow New Zealand’s next generation of biology-first agronomists.

Explore the pathway: earthworkers.org

Earthworkers courses in 2026

Peace lilies

By Tammy Huynh

Images and text from The Plant Book by Tammy Huynh, photography by Chris Chen. Murdoch Books RRP $49.99.

Peace lily p. 234, Spathiphyllum wallisii

ABOVE: Cover image of The Plant Book, and author Tammy Huynh

Care
Low maintenance
Pet friendly
No
Light
Bright, indirect light

We hope you enjoy this free article from OrganicNZJoin us to access more, exclusive member-only content

Part of the Araceae family, the peace lily is a favourite among indoor plant enthusiasts. It’s celebrated for its easy-care nature, attractive glossy leaves, and distinctive white flowers. Because it’s so adaptable, it’s a popular choice for shopping centres, offices and homes, and it makes an ideal gift for beginner plant parents.

The flower of the peace lily is actually a spathe – a unique structure that consists of a modified leaf surrounding a cluster of tiny flowers called the spadix. While the spathe is typically white in the peace lily, it comes in various colours among other members of the Araceae family. You’ll find the traditional green-leaved peace lily in most nurseries and garden centres, but the variegated forms can be harder to find. They’re worth the hunt, however, especially if you want something a little more special.

The peace lily grows into a large clump, giving the plant a full, bushy appearance. It may get too big for its pot; if this happens, then repot it into a larger container or trough. Alternatively, divide the clump every few years and pot up the divisions. Although it’s rare to hear of someone killing a peace lily, many people still encounter issues with it.

Understanding its natural habitat can help to address these problems. The peace lily is native to humid forest floors in tropical Central and South America, where it thrives in dappled light and consistent humidity. While you don’t need to give it a greenhouse environment, there are ways to ensure that it looks its best.

All the dirt on the peace lily

Light

The peace lily thrives in bright, indirect light. It can tolerate lower light levels, but it will grow more slowly and won’t flower.

Potting mix

Use a premium potting mix. Fertiliser Liquid feed regularly during the warmer months, or apply a controlled-release fertiliser at the beginning of spring, reapplying as directed.

Water

Water when the top 2.5–5 centimetres (1–2 inches) of potting mix is dry. Ensure that the water runs through the drainage holes at the bottom of the pot. The leaves will droop quite dramatically if the potting mix becomes too dry – avoid reaching this point because it puts the plant under unnecessary stress.

Humidity

The peace lily is generally happy with the standard level of humidity found in most homes. However, if it’s positioned near windows, in draughty areas or close to climate-control devices (such as fans and heaters), the humidity will be lower than it prefers. Browning at the leaf tips typically indicates low humidity. For ways to boost indoor humidity, see page 26.

Choice cultivars of the peace lily

Spathiphyllum ‘Sensation’

Often referred to as the giant peace lily, this beauty is known for its large leaves and impressive spathes. It’s a true statement plant that makes an ideal floor specimen … but elevate it on a short plant stand for even more impact.

Variegated peace lilies

Spathiphyllum ‘Picasso’ (pictured) features broad, white brushstrokes painted across its leaves, while Spathiphyllum ‘Domino’ displays a more subtle stippled effect, as if it has been touched by a delicate hand.

Growing tips

Obtain more peace lilies

The best way to get more peace lilies is to divide your plant! As the plant grows, it naturally forms clumps of new shoots; these clumps can be separated to create new plants. Dividing is best done in spring or summer when the plant is actively growing, giving it the best chance to establish quickly.

To divide your plant, remove it from the pot. Tickle or brush away the potting mix to loosen the roots. Smaller plants or clumps may naturally separate from the mother plant. If they don’t, then identify the clumps and ensure that each one has healthy stems, leaves and roots. Use your hands to gently pry the clumps apart. A sharp knife or pair of secateurs may help.

Replant each clump into its own pot filled with a well-drained potting mix, ensuring that the base of the plant is at the same depth as before. Water in well with a diluted seaweed solution, which helps to promote root growth and reduce transplant shock. Place the pots in a warm spot with bright, indirect light.

Common problems of the peace lily

Browning of leaves

Brown leaf tips.

Cause

This typically indicates low humidity. It may be the result of draughts or exposure to hot or cool air, which can dry out the air around the plant and lead to water loss from the leaves faster than it can be replenished.

Solution

Position the plant away from open windows or doors to avoid exposure to draughts. Also, keep it away from heating or cooling vents. To maintain consistent moisture, consider placing a shallow tray of water near the plant to increase humidity.

Drooping leaves

Symptom

Leaves have wilted significantly, appearing limp and droopy.

Cause

Underwatering, overwatering or hydrophobic potting mix.

Solution

If the plant is underwatered, then the potting mix will feel completely dry. Give the plant a good soak, ensuring that the water runs through the drainage holes at the bottom of the pot. The plant should recover over the next couple of days (if it doesn’t, then this may be an indication that the potting mix has become hydrophobic – see below for the solution). Continue with a more regular watering routine to prevent future issues.

If the plant is overwatered, then the potting mix will feel evenly wet or soggy. Allow the potting mix to nearly dry before watering again, and check if you need to move the plant to a brighter spot or if the pot has sufficient drainage holes. If roots are obstructing the drainage holes, then the plant needs to be repotted into a larger container. If your pot has a saucer, then avoid letting the plant sit in water for any length of time because this can lead to root rot.

If the plant is severely overwatered, then it may be best to remove the plant from its pot, prune away any dead, dying or mushy roots, and repot into fresh potting mix. Over time, potting mixes can become hydrophobic (water repellent), so despite your watering efforts, the water isn’t being absorbed into the potting mix.

You can rehydrate the potting mix by submerging the entire pot in a bucket of water for 30 minutes, using a brick or similar heavy item to keep it under the surface. Alternatively, use a wetting agent, which is available at most nurseries, to help rewet the mix. The plant should recover over the next few days.


The Plant Book, by Tammy Huynh

Homegrown Fruit: Pests and disease-reducing strategies

By Kath Irvine and Jason Ross

Homegrown Fruit: A practical guide is an accessible and comprehensive guide to growing fruit trees, bushes, vines and brambles in Aotearoa New Zealand.

The authors have a wealth of experience between them, and guide readers through everything from planning a home orchard, to specific types of fruit and their requirements, to care and pruning, pest, disease and weed control, and much more.

The following is a section on strategies to reduce pests and disease, extracted with permission from Homegrown Fruit: A practical guide, by Kath Irvine and Jason Ross (K+J Books, 2025) $58 RRP

ABOVE: Cover image of Homegrown Fruit, and Jason Ross and Kath Irvine (Mickey Ross Photography)

We hope you enjoy this free article from OrganicNZJoin us to access more, exclusive member-only content

We’re big fans of sidestepping pests and disease – that’s why we’re so keen on well-suited varieties, and on staying in touch with our trees and keeping health humming along. Even so, pests and disease do happen! Little bits here and there are no worries, but more than that and it’s a good idea to ponder why. It’ll be a stress of some sorts – weak vigour, overfeeding, extreme weather, or because the tree isn’t planted in its happy place.

If a tree continues to get hammered every year in spite of all your love, feel free to chop it down, mulch it up, and try another variety. That in itself is an excellent pest- or disease-reducing strategy – to only grow trees that thrive easily. The younger your orchard is, the more important it is to act on the first signs of pest or disease. The more established, diverse, and healthy your orchard, the more important it is to watch and let things take their natural course. If at any point tree health starts to be compromised, step in with our solutions below.

ABOVE: Illustration by Jason Ross

Pest-reducing strategies

Before you rush in to squash or spray, find out about the bugs you see on your fruit trees and make sure they are foe. You will find most are orchard friends. It’s really useful to understand what the different phases of bug life cycles look like – both for pests and predators. The juveniles can look radically different to the adults.

5 spray-free strategies

Our goal is to manage all pest problems without sprays, to lean into the wondrous network of unseen support that’s constantly in motion in our orchards.

Predatory insects

Keep a wide variety of pests in check with a wide variety of predatory and parasitic insects: parasitic wasps, hoverflies, ladybirds, praying mantis, spiders, dragonflies, damselflies, assassin bugs, lacewings, various beetles, frogs, and even earwigs – the more the merrier! Entice them in with a spray-free, wild haven, a year-round supply of nectar and pollen, and of course, some pests to eat!

Wild birds

Birds are a quid pro quo – while you may want to protect your ripening crop from them, the rest of the time birds like wax-eyes, starlings, chaffinches, and fantails are voracious gobblers of insects.

Digital control

Squashing grubs, caterpillars, or aphids is a quick and easy solution on a young tree, a dwarf or espaliered tree, or a reachable vine. Curled or folded leaves are a sign that a grub or caterpillar lurks within – open them up to see. Dimpled leaves indicate a sucking insect is at play – flip them over to check. Webbing is another sign – poke about and be nosy! You don’t need to squash every single pest: get the bulk of them, or the ones within reach – leave a few for the predators. Keep at it during your check-ins.

Fruit and spur thinning

Thinning reduces pest numbers by removing their habitat – the cosy home that’s created where fruits touch.

Chickens and ducks

Chickens scratch up and gobble overwintering grubs and larvae. Ducks love slugs and snails, and both forage on a broad range of pests, from aphids to grasshoppers.

Two safer sprays: Neem and Bt

While it’s our goal to be spray-free, there are times when we are both very grateful to have Neem and Bt in our toolkit. Both must be ingested to work, so the only insects that come to grief are the ones sucking or chewing the foliage or fruits. Bees and predatory or pollinating insects aren’t eating foliage or fruits, so they stay out of harm’s way. Many natural insecticides, like pyrethrum, garlic, or rhubarb spray, are contact killers – they nail everything they touch. We don’t recommend them.

The key to success with Neem and Bt is to completely cover the foliage when you spray, and to follow up with a couple of repeat sprays to catch the next gen of egg hatchings. Repeat sprays are essential! Use your observations to guide you as to how many repeats you need.

SPRAYING TIPS
Spray at dawn or dusk, in dry weather. Use a fresh mixture each time – make a small batch so that you use it all. Rinse out your sprayer afterwards, especially the nozzle, and leave it open and upside-down to air out and dry.

Neem

Use for all sucking insects: aphids, woolly aphids, scale, thrips, passionvine hoppers, green vegetable bug, and cherry/pear slug (sawfly larvae).

  • Passionvine hopper adults are impervious to spray – catch them at the juvenile ‘fluffy bum’ stage. Repeat at three-day intervals. By the third spray, the population will be greatly reduced. Continue in this way until there are none left.
  • Woolly aphids are a more intense pest because they suck on both roots and tops. If there are tell-tale cottony growths around the root crown, apply Neem granules to the soil at the base of the tree in tandem with using Neem sprays

Bt

Bt is short for Bacillus thuringiensis. It’s the active ingredient in many caterpillar-specific sprays. Use it for raspberry bud moth, leaf roller caterpillar, codling moth, and guava moth.

Codling moth and guava moth get a special mention because natural predators are in short supply in NZ, and they aren’t so much a reflection of stress as they are a reflection of a neighbourhood that’s heaving with them. Success comes from doing a range of things that target different stages of their life cycles.

  • Spray with Neem + Bt together, weekly from petal fall.
  • Check over young fruits for tiny entry holes where larvae have burrowed in. There may also be frass – tiny piles of sawdust-like excrement – at these sites. Remove fruits and feed them to your chooks or drown them in a barrel of water.
  • Immature fruits that fall often contain larvae – send your pigs in or pick them up; this stops the next generation of moths emerging.
  • In winter, let chooks in to hunt overwintering larvae – wax-eyes and ground beetles also help with this. Needless to say, clean up all windfalls in case they contain larvae.
  • Prevent guava moth by covering trees with insect mesh soon after pollination, when fruitlets start to develop.

Homegrown Fruit: A practical guide, by Kath Irvine and Jason Ross (K+J Books, 2025) $58 RRP

The Floral Dream

Olivia McCord, author of this beautiful new book, The Floral Dream, uses organic practices in her flower growing.

“My initial introduction to growing was through kiwifruit. We established a kiwifruit orchard from scratch, and it is now a fully certified organic orchard.”

This gorgeous book is bursting with colour and inspiration, as well as being a practical, comprehensive guide to growing cut flowers.

The following is extracted with permission from The Floral Dream: A Guide to Growing Cut Flowers in New Zealand by Olivia McCord (Potton & Burton) $49.99 RRP

We hope you enjoy this free article from OrganicNZJoin us to access more, exclusive member-only content

Sourcing plants

There are numerous ways that you can start your dream cutting garden, and it will be dictated by the way you source your plants. What will ultimately determine the way you source your plants will be your scale of operation. If you are a small home gardener it is feasible to spend a little more on a seedling as you will be planting fewer as opposed to a small scale flower farmer who will require multiple seedlings of each variety.

The key is to plan what you want to grow so you can ensure you are sourcing your plants at the right time they are available. For example dahlias, a hugely popular item, will go on pre-sale in winter when you need to secure them to ensure you don’t miss out on the varieties you were after come summer time.

Growing from seed

When I first started growing flowers I was incredibly daunted by growing from seed and believed that it was for very experienced growers only. Fast forward a few years and I now own a cut flower seed business, so it is safe to say I became a quick convert to growing from seed.

The reason I love growing from seed is the large selection of plants available (a lot of garden stores do not offer a decent cut flower range) and the inexpensive cost. The trick to growing from seeds if you are starting out is to choose annuals (perennials can be fussier) and follow the basic guidelines laid out later in this book.

You do not require fancy equipment or a greenhouse to get a range of seeds germinating.

Above: Olivia McCord

Growing from plugs

This is generally reserved for small scale flower farmers. Plugs are small seedlings of a particular variety grown in large trays. There are a number of nurseries (like Gray Floral listed in the appendix) around the country that will wholesale trays of plugs to growers. However, there are minimum quantities so this option is not feasible for home growers

Seedlings

Seedlings are fantastic as a quick way to get started as someone has done the initial work for you. They are more expensive but if you are growing a handful of plants this expense is relatively small. Just ensure you are mindful about selecting the right variety. A lot of local gardening stores sell plants in their potted colour section for pots. Therefore if you are choosing a zinnia for example you might be selecting a dwarf bedding variety that will not grow an appropriate stem for a cut flower.

There are a number of nurseries around the country starting to offer cut flower seedlings which have been noted in the back of the book.

Bulbs, tubers and corms

Bulbs, tubers and corms are a fantastic way to grow cut flowers as they are often reliable bloomers. The key is to work out what you want to plant in advance, as most spring flowering bulbs are on sale late autumn, and summer flowering bulbs are selling in winter. More information is detailed on how to grow these later in this chapter.

Cuttings and sharing

A fabulous way to grow your garden is through cuttings and sharing plants with other gardeners. I myself have taken cuttings from my neighbour’s ‘limelight’ hydrangeas and grown them on to fill my garden.

Whilst annuals can be difficult to grow in this manner, perennials lend themselves to dividing. Chrysanthemums are a wonderfully easy plant to propagate through cuttings, so join your local gardening groups and go to garden open days. They are wonderfully welcoming groups and an excellent way to grow your garden and learn valuable knowledge.

Potted plants

Potted plants, which are mature plants, are the most expensive way to add to your garden. However, it is sometimes the best option. Whilst I don’t recommend buying annuals this way, as they will only last a season, buying a potted perennial, shrub or especially trees, saves you a lot of time.

I personally like to buy most of my roses as potted plants rather than cuttings as it saves me a large amount of time and adds instant flowers.

Photos: Olivia McCord


Organic Gardening Guide by Organic NZ

Organic Gardening

Organic Gardening is a guide published by the Soil & Health Association, is an excellent introduction to the principles and practice of organic gardening.

The book is recommended by experienced tutors and practitioners in the field of organic growing. It doesn’t tell you specifically how to grow your lettuce or tomatoes, but it does tell you about the fundamentals of organic growing, including understanding of soil, crop rotation, composting, and how to deal with pests, weeds and disease organically.

Organic Gardening booklet is currently out of print but we hope to make it available again for purchase at a future date.

The Soil & Health Association has made the booklet available for members here in digital form to assist you in your organic gardening endeavours.

The links below will take you to the sections of the Organic Gardening Guide. Each of the sections have the same links so that you can navigate onwards without having to return here.

The following content is only viewable by Soil and Health / OrganicNZ members. Why not support us by joining now so that you can enjoy all member-only content such as this?

Contents:

Worm Farming Tips

Home gardener Michelle Coenradi has four worm farms on the go. Here she outlines the benefits, and offers some tips from her experience.

We hope you enjoy this free article from OrganicNZJoin us to access more, exclusive member-only content

I am passionate about my worms. There are so many benefits to worm farming, and it’s something you can do almost anywhere, even on a balcony. Worm farms produce two types of fertiliser: a liquid (sometimes called tea or juice) and a more solid one (vermicast). I leave the siphon open and sit a bucket underneath to collect the liquid.

Benefits of worm juice and vermicast

  1. Enhances soil fertility.
  2. Promotes plant growth.
  3. Deters pests and diseases.
  4. Improves soil structure – contains microorganisms and enzymes that improve soil aeration and water retention, leading to better root development.
  5. Rich in readily available nutrients like nitrogen, phosphorus and potassium, as well as trace elements.
  6. Improved aeration and drainage results in reduced soil compaction
  7. Enhances the activity of beneficial microbes which are essential for nutrient cycling and overall soil health.
  8. Cost-effective fertiliser that you can make yourself.
  9. Vermicast is pH neutral.

ABOVE: Inside one of Michelle’s worm farms (Photos: Michelle Conraedi)

A healthy home for your worms

Worms need a dark, moist and well aerated environment and a temperature between 15–25ºC. You can put in shredded paper for them to live and breed in, or a worm mat which can be purchased at hardware stores.

Worms love anything curved or round to nest in and keep themselves warm, especially avocado and watermelon skins, and pumpkin is a hit as well.

What do they like to eat?

  • 70% nitrogen-rich ‘green waste’ like fruit and vege scraps, eggshells, coffee grounds and tea bags (make sure they’re compostable ones). Avoid citrus fruit and the onion family.
  • 30% carbon ‘brown waste’, like newspaper and cardboard.

You can feed them daily but I tend to feed weekly.

When I put scraps in I sprinkle Tumbleweed worm compost conditioner over the top. This keeps the pH balanced – you can tell if the worms are struggling with an alkaline imbalance because they lose their colour and start turning white. You can also use garden lime sparingly.

The vermicast is referred to as black gold, indicating its value in the garden. I find worms are hardy and easy care; you really can’t go wrong with a worm farm and they are so rewarding.

ABOVE: Michelle’s vegetable garden flourishes with the addition of vermicast and liquid from her worm farms.

More information

There is lots more information about worm farming online, such as these tips from the Compost Collective.

Photo at top: Compost Collective


Sheryl Stivens: Organic Pioneer

Sheryl Stivens grew up on a mixed farm in Winchmore, Ashburton. Her family were fourth generation New Zealand farmers growing a variety of crops as well as breeding stud sheep. An experience when she was a young adult set her firmly on the organic path. 

Mercedes Walkham traces the life of this Soil & Health member who embodies the motto of ‘healthy soil, healthy food, healthy people’. 

Hunting and gathering

When Sheryl Stivens was 19 years old she moved to Australia, and met her husband Hal several years later in the Northern Territory. 

“In those days we were young hunters and gatherers catching abundant fish and game in the Australian outback and sleeping under the stars,” Sheryl recalls. 

“It was when we moved to Wagga Wagga (New South Wales) that Hal and I bought 30 acres of land, discovered the joys of growing your own food started to garden,” said Sheryl.

A turning point came for them with the realisation that there were no freshwater yabbies or other creatures in the billabongs on their land, due to the chemical fertilisers used to grow grain on the surrounding farms. They had both grown up with families using superphosphate and like many thought it was a “bird-poo type of product that came from Nauru Island” and never considered it to be toxic.

This realisation made them re-evaluate all their belief systems and from that moment on they vowed that they would not use anything that would poison the soil. “It became an unwritten law in our lives,” Sheryl says.

  ABOVE: Hal and Sheryl Stivens

The following content is only available to logged-in members. Join us to gain access to a wide range of content.


Author:  Mercedes Walkham is part of a collective organic garden based in Ashburton. She is pictured here with Sheryl.

Gorse in flower

Stop, look and listen to the weeds

Paige Murray explores how we can work with weeds as organic gardeners and growers. 

Growing organically, as you well know, is not without its challenges: weeds in abundance, certain insects wreaking havoc out in the fields, not to mention the constant soil remediation and conditioning.

While these obstacles may be at times overwhelming, there are ways to manage them – and let’s be brutally honest here: if you’re taking the leap and growing without synthetic chemicals, it’s unlikely you’ll achieve completely weed- and pest-free crops. 

Yellow Admiral butterfly on Scotch thistle


The following content is only available to logged-in members. Join us to gain access to a wide range of content.

Paige Murray lives near Christchurch and loves any excuse to get outdoors. Passionate about organic and regenerative agriculture, she works for Quorum Sense and Streamside Organics, and spends most of her free time gardening, making cheese and preserves, or climbing up rocks.