Kiwifruit: Treasures in red, gold and green
There’s something quietly satisfying about growing the fruit that put New Zealand on the global produce map.
Kiwifruit has become so woven into our national identity that it’s easy to forget it isn’t actually native here at all, and its journey from a fuzzy Chinese curiosity to a backyard favourite is a story worth knowing.
Paula Sharp finds out more.
We hope you enjoy this free article from Organic NZ. Join us to access more, exclusive member-only content
Chinese origins
Kiwifruit originated in the Yangtze River valley of China, where it grew wild for centuries and was known as a monkey peach. Seeds made their way to New Zealand in 1904, brought home by a Mary Isabel Fraser, principal of Whanganui Girls’ College who had been visiting her missionary sister in China.
Early growers in this country called it the Chinese gooseberry, and it was mostly a curiosity in home gardens until commercial growers in the Bay of Plenty began cultivating it seriously from the 1930s onward. The name kiwifruit wasn’t adopted until the 1950s and 60s, partly as a marketing move to make the fruit more appealing, and more exportable, to American buyers.
From there, New Zealand growers and breeders turned it into one of the country’s most successful horticultural exports, eventually breeding the golden SunGold variety that’s now found on supermarket shelves worldwide, and most recently the RubyRed.
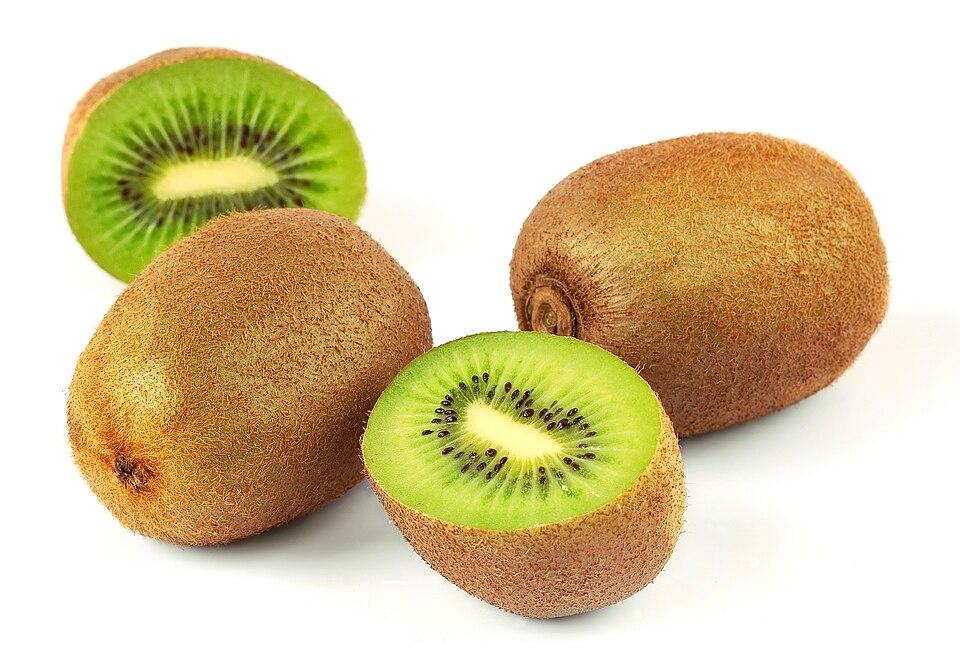
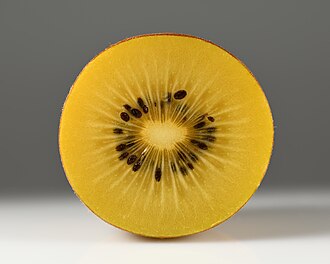
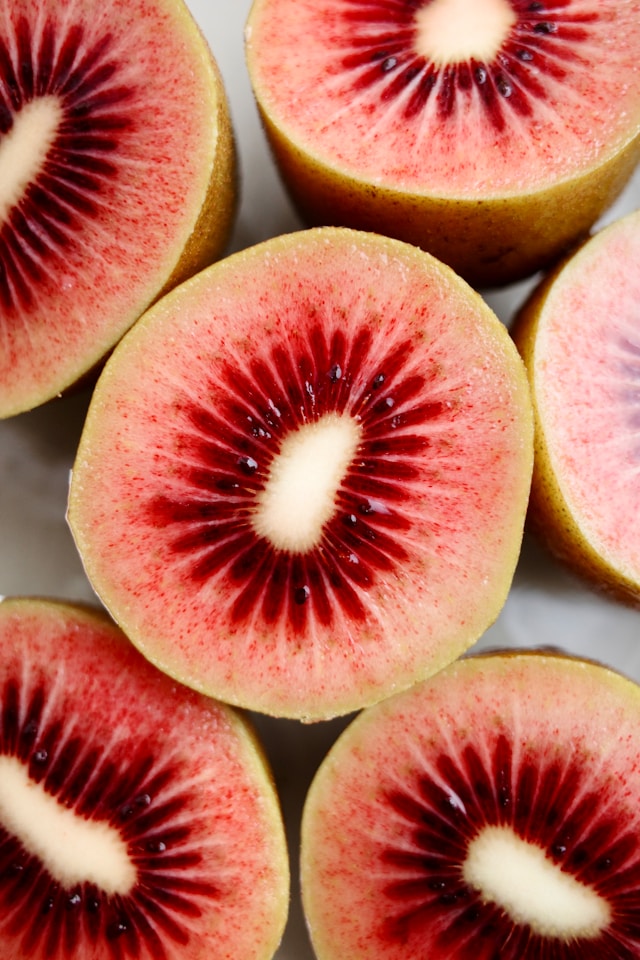
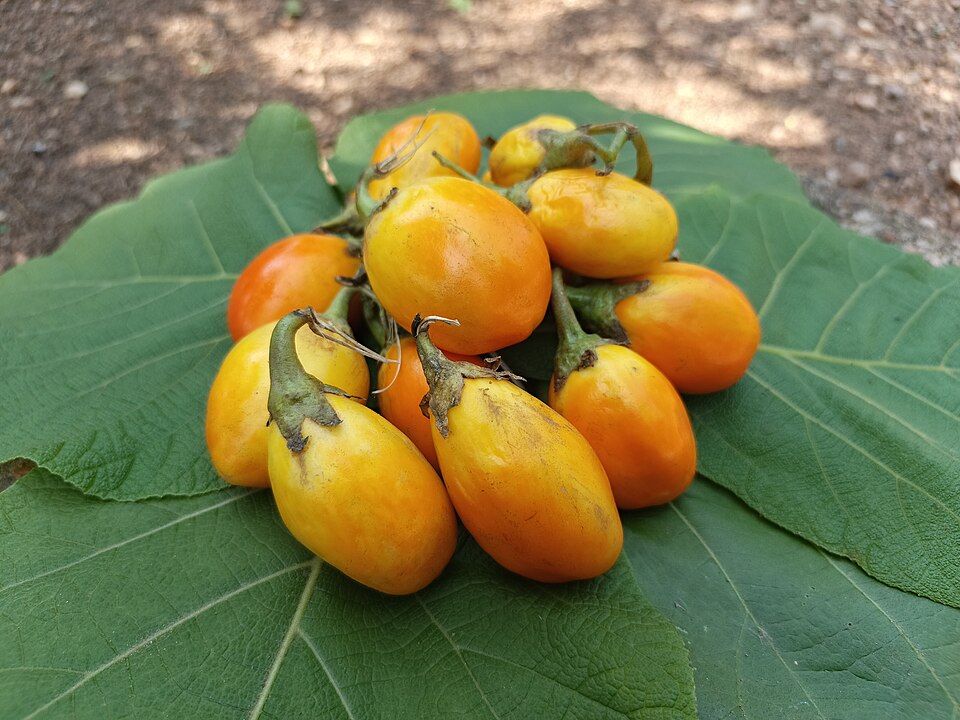
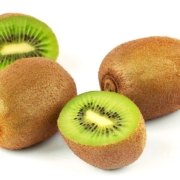
ABOVE: Green, gold and red kiwifruit
Photos: Luc Viatour (Wikimedia Commons), Ivar Leidus (Wikimedia Commons), Seiji Seiji (Unsplash)
Nutrition boost for winter
From a nutrition standpoint, kiwifruit punches well above its size. A single fruit delivers more vitamin C than an orange, supporting immune function and collagen production for skin and joint health.
It’s also a useful source of dietary fibre, including both soluble and insoluble types that support digestion and a healthy gut microbiome.
Kiwifruit contains actinidin, a natural enzyme that helps break down protein, which is part of why it’s traditionally used as a meat tenderiser and why some people find it eases digestion after a protein-heavy meal.
You’ll also get a useful dose of vitamin E, folate, and potassium, along with antioxidants that support cardiovascular health.
Gold varieties tend to have even higher vitamin C levels than green ones, while green kiwifruit slightly edges ahead on fibre.
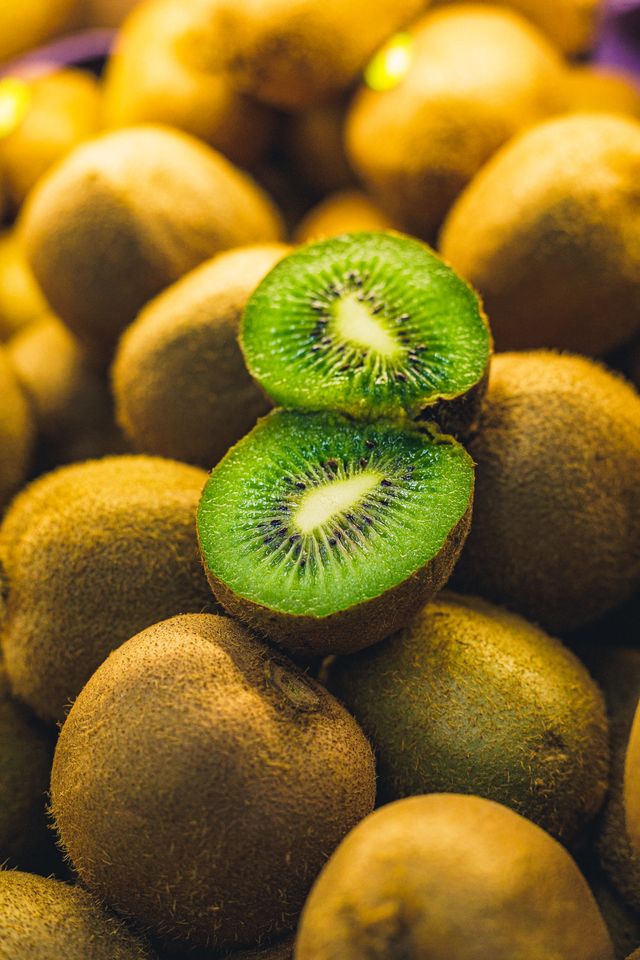
Photo: Anderson Martins, Pexels
If you enjoy simple, grounded nutrition like this; practical, seasonal, and realistic, you can join Paula’s Sharp Bite newsletter for weekly insights, recipes, and support HERE.
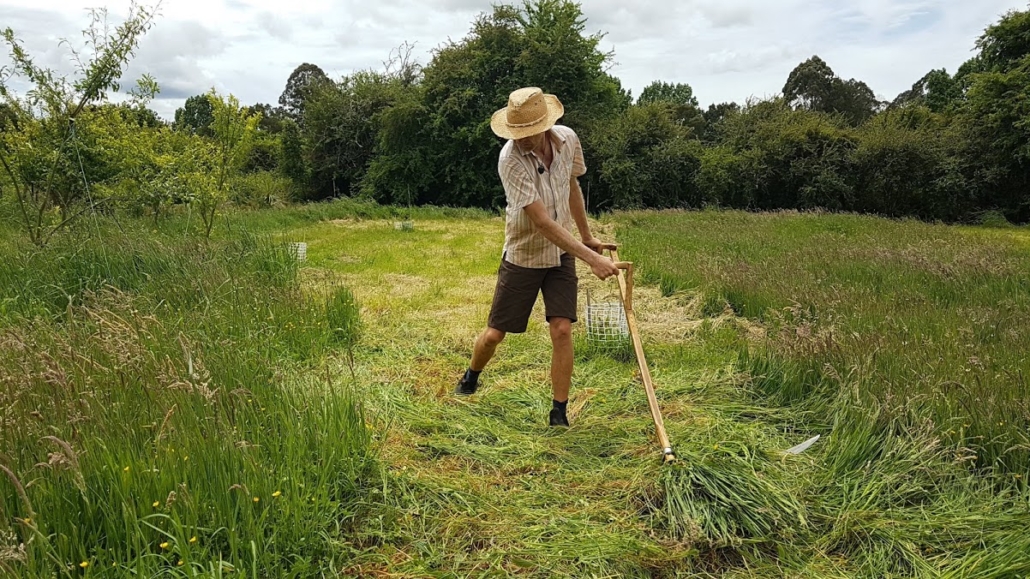
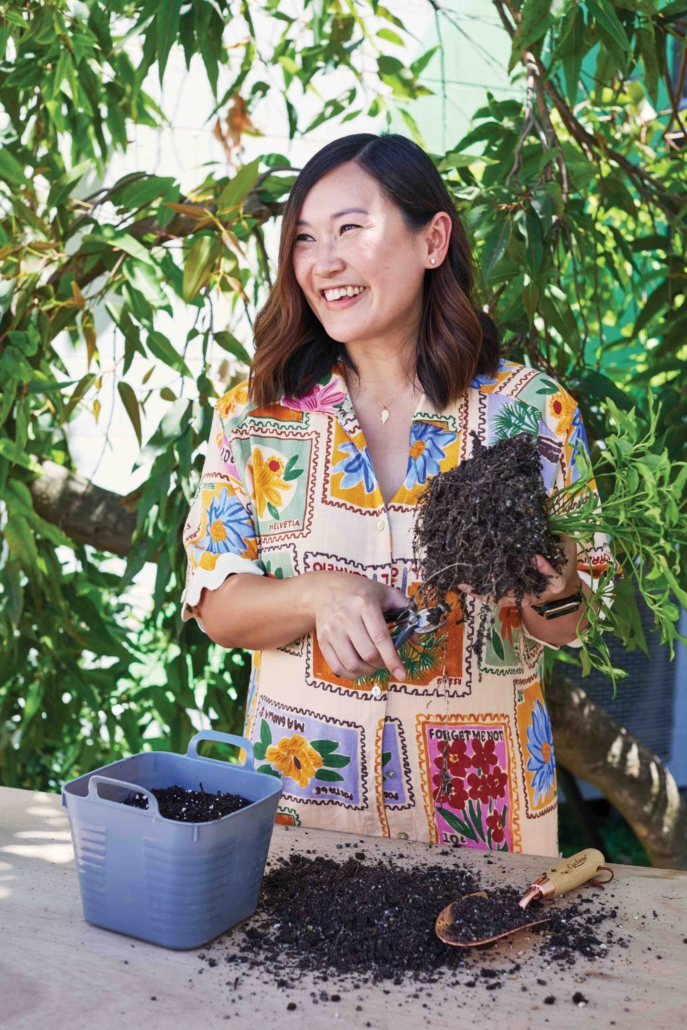
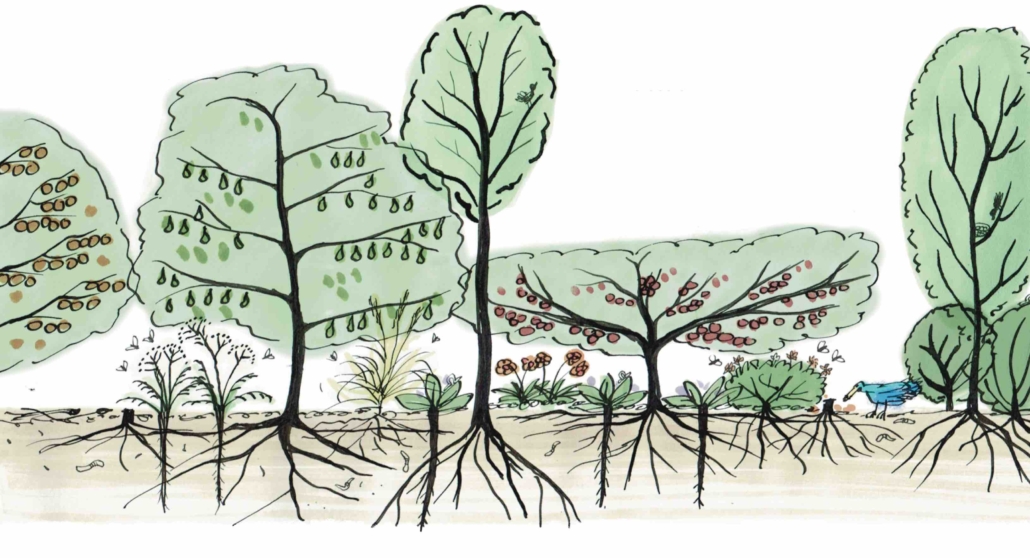
Growing kiwifruit
If you already have kiwifruit in your home garden, you’re fortunate. If not, you may not be able to source plants unless you’re growing commercially under licence. When the highly infectious bacterial PSA vine disease arrived in New Zealand in 2010, the entire kiwifruit industry was threatened, and many orchards suffered severely. Restrictions were put on the movement of plant material in order to curb the spread of the disease.
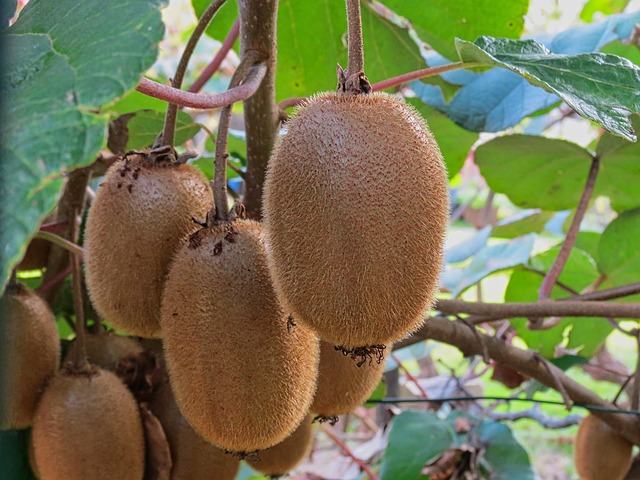
Kiwifruit vines are vigorous, long-lived, and well suited to organic home gardens, provided you have space and a sturdy structure. They need a strong pergola or trellis system, as a mature vine can spread several metres and becomes heavy with growth.
Plant in free-draining, humus-rich soil with a slightly acidic to neutral pH, and choose a sheltered, sunny spot protected from strong winds, which can damage the large leaves and developing fruit.
Photo: Pixamio, Pixabay
Most kiwifruit varieties are dioecious, meaning you need both a male and a female vine for fruit to set, unless you have a self-fertile variety bred for smaller gardens. Bees do most of the pollination work, so avoid spraying anything that might deter them during flowering in late spring.
Mulch generously with organic compost or aged manure to retain moisture and feed the soil naturally, and water consistently through summer, as kiwifruit vines are shallow-rooted and dislike drying out.
Annual winter pruning keeps the vine productive and manageable, removing old fruiting canes to make way for new growth. Harvest in autumn when the fruit feels firm but the seeds inside have turned black, then allow them to ripen further at room temperature.
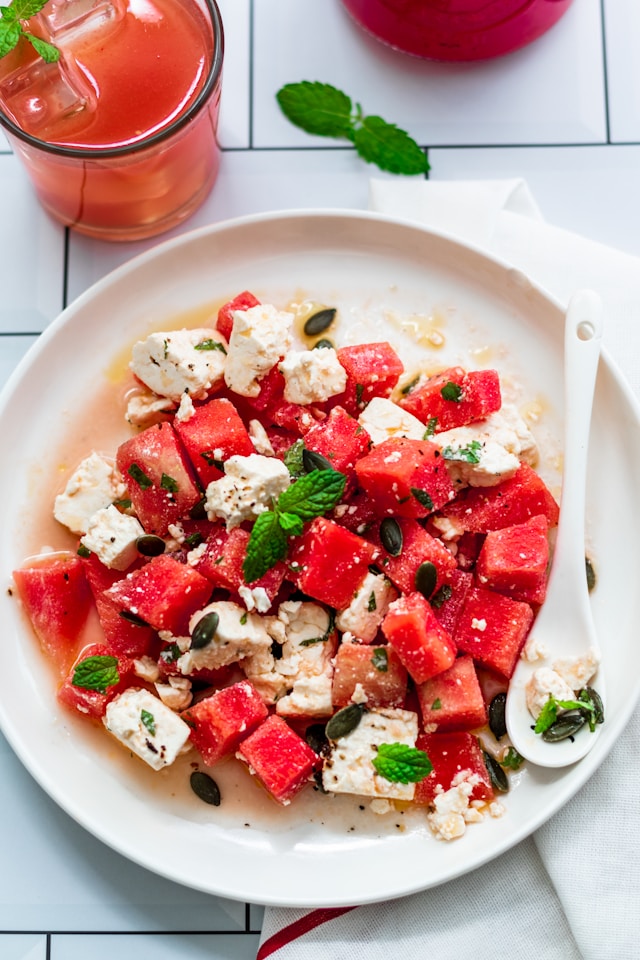
Simple kiwifruit recipes
Zesty kiwifruit & coriander salsa
Bright, enzyme-rich, and lovely with grilled fish or tacos.
Ingredients
- 4 ripe green or gold kiwifruit, peeled and diced
- ½ small red onion, finely diced
- 1 small red chilli, finely chopped (seeds removed if preferred)
- 2 tablespoons fresh coriander, chopped
- 1 tablespoon lime juice
- 1 tablespoon olive oil
- Pinch of sea salt
Method
- Combine the kiwifruit, red onion, chilli, and coriander in a bowl.
- Whisk together the lime juice, olive oil, and salt, then pour over the salsa.
- Toss gently and let sit for 10 minutes before serving to let the flavours combine.
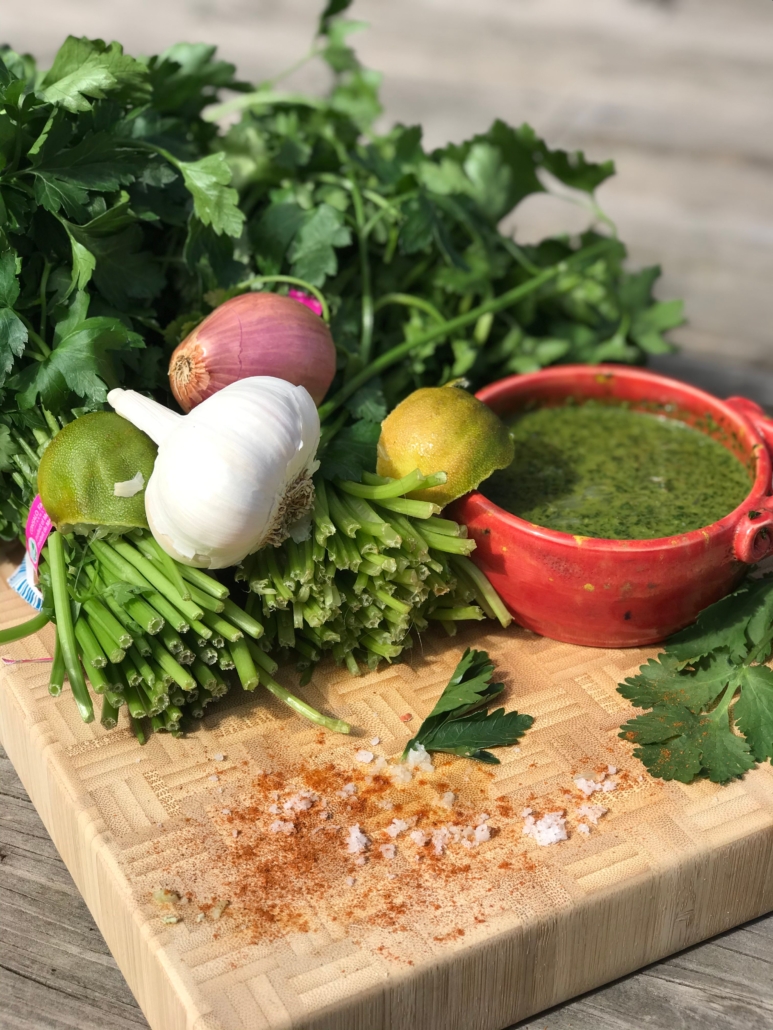
Photo: Sarah Deason, Pexels
Kiwifruit green smoothie bowl
A snack or breakfast that’s packed with fibre and vitamin C.
Ingredients
- 3 ripe kiwifruit, peeled
- 1 frozen banana
- 1 cup baby spinach
- ½ cup plain yoghurt (dairy or coconut)
- ¼ cup water or milk of choice
- Pinch of spice – cinnamon, nutmeg or ginger
- Toppings: sliced kiwifruit, chia seeds, granola, shredded coconut
Method
- Blend (with a Nutribullet, stick blender etc.) the kiwifruit, banana, spinach, yoghurt, and water until smooth and thick.
- Pour into a bowl and top with your choice of sliced kiwifruit, a sprinkle of chia seeds, granola, shredded coconut, then serve immediately.
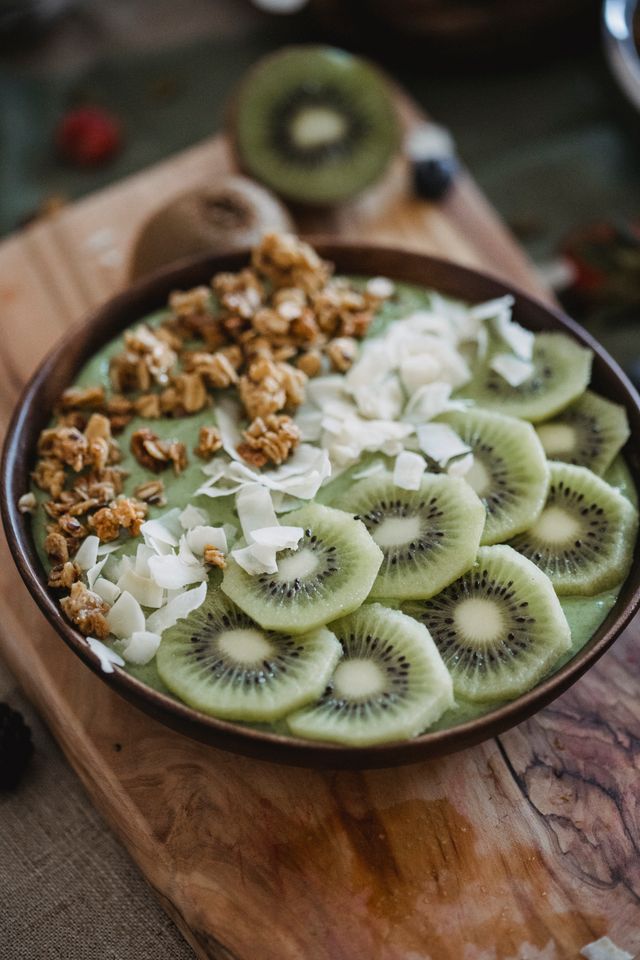
Photo: Nicola Barts, Pexels

Want more seasonal nutrition inspiration?
I’m Paula Sharp, nutritional therapist and founder of Paula Sharp Nutrition, supporting women to nourish their health with sustainable food and mindset habits.
If you’d like seasonal recipes, practical nutrition tips and evidence-based wellness insights delivered straight to your inbox, I’d love you to join my newsletter. Sign up at: www.paulasharpnutrition.com
Photo at top of article: Luc Viatour, Wikimedia Commons